Your morning brew, made by you, perfected by Breville.


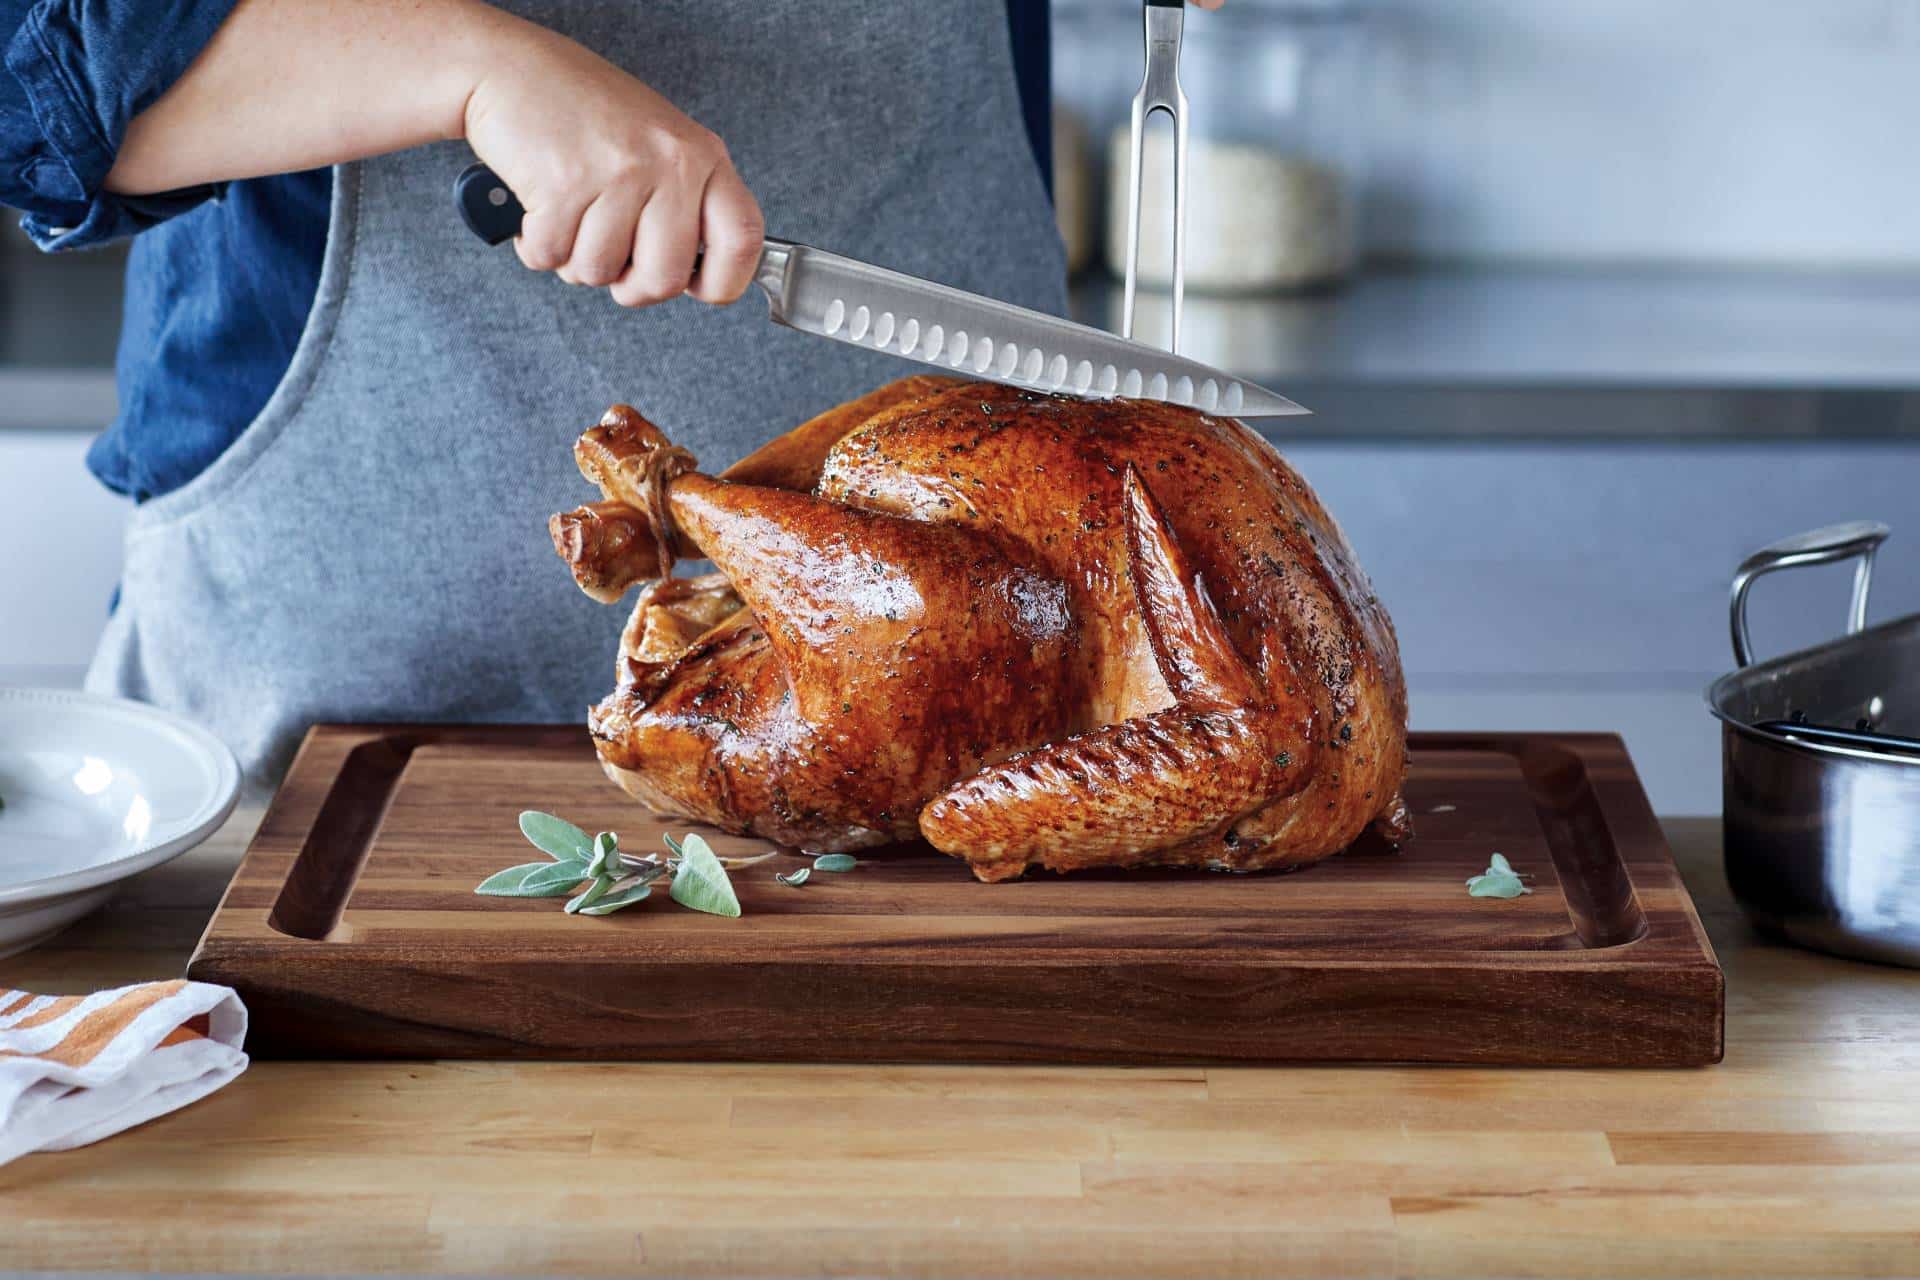
Thanksgiving is one of the tastiest days of the year—but it can be a little overwhelming to play cook and host at the same time! One of the biggest tasks of the day is ensuring the star of the show—the turkey —really shines. After you’ve selected, prepped and cooked your bird, the final step of carving may seem like an afterthought, but it’s an essential step in not only the presentation but also the quality of the main course.
If you’re unsure of how to carve a turkey, we’ve created a step-by-step guide to help you through the process. Don’t worry—it’s easier than you think!
But first things first: you need the right kitchen gear. Be sure to have the following items before Thanksgiving Day to ensure carving success:
While other long, sharp knives will work, a carving knife is specifically designed with flexibility in mind to help you maneuver and slice both large and small pieces of your bird. Most carving knives are also smooth, not serrated, as the rougher edges could tear the meat.
Many carving knives come with carving forks. These have sharper, longer tines that make it easy to keep the turkey securely in place.
Chef’s Tip: If you don’t have a carving fork or don’t have time to run to the store, a sturdy pair of tongs will work just as well.
If you don’t have a cutting board with juice grooves or don’t have time to pick one up, you can always place your cutting board on a larger rimmed baking sheet.
Chef’s Tip: Carve the turkey in the kitchen! This will help reduce the stress of feeling like you have to “perform” in front of guests. Plus, carving can be messy so having a sink and trash receptacle near by is crucial.
Before you begin carving your turkey, be sure to let the meat rest for 30-45 minutes to let the juices reabsorb. Slicing it too soon could mean the turkey could become dry—a chef’s worst nightmare for Thanksgiving dinner.
Our chefs filmed this helpful video to walk you through it, step by step. Follow along with the instructions below as you watch our “How To Carve a Chicken (or Turkey)” video:
1. Score skin around the legs.
Place the bird on a cutting board, with the butt end of the turkey closest to you. Create shallow cuts around the corners of the legs—this will help you separate the pieces later on. After you’ve scored the skin, flip the turkey over.
2. Cut skin between the leg and breast.
Continue your score line around the outside of the bird. Begin gently pulling the legs away from the body, then flip the bird over again.
3. Push the leg down and cut it through the joint.
Push the legs down, so they’re almost flat with the cutting board, until you hear a pop and the joint become visible. Begin slicing through and around the joint to separate the legs. Angle the knife toward the bones to make a cleaner cut.
4. Cut through the middle along the breastbone.
Gently create a vertical slice from the top to the bottom of the bird, being careful not to pull away too much of the crispy skin. You don’t have to slice deeply at this point—just enough to create a smooth guide for separating out the rest of the bird.
5. Score skin around the breast.
Rotate the bird so the neck end is facing you, then make cuts around and underneath the meatiest portion of the bird (the breast). Continue making smooth, long strokes with your carving knife, and begin pulling the meat gently away from the bird.
6. Slice next to the breastbone, following the rib cage.
Follow the curve of the bone as you slice through and separate the left and right breast from the rib cage. Make smooth, deep cuts instead of short, sawing strokes to reduce the risk of “frayed” edges on the meat.
7. Gently remove meat from the bone.
The breast meat should be in two large portions, which makes it easier to slice into pieces for guests to pick from. This is considered the white meat of the turkey.
8. Push the wing down and cut through the joint.
Similar to removing the legs, gently push the wing down until you hear a pop and the joint is visible. Cut through and around the joint to remove the wing.

After you have separated your turkey, the hardest part is over!
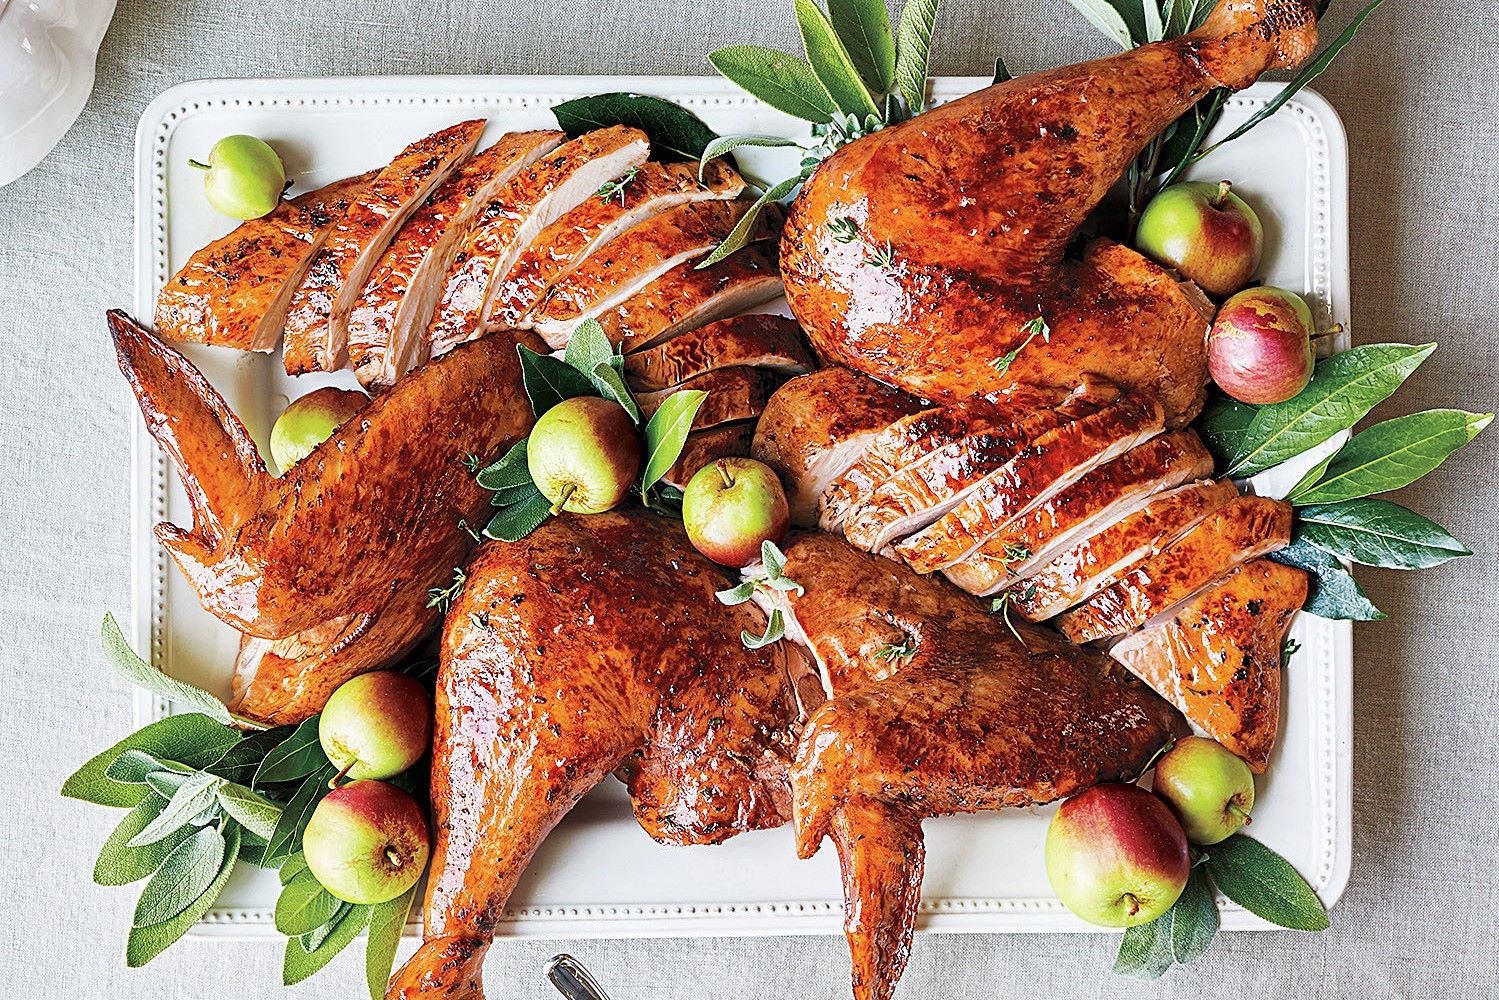
If you’re wondering how to slice a turkey breast, it’s simple. Just slice against the grain into ¼-inch or ½-inch pieces, using long strokes to ensure the skin doesn’t pull away from the meat. The dark meat from the legs and wings can either be left on the bone for a couple of lucky guests or pulled away and served in a more shredded format. It’s challenging to make clean slices here, so using your hands to gently pull the meat away is typically the easiest method.
You can serve your turkey directly on the cutting board if you’d like—just be sure to sop up any juices to prevent spilling. You can also arrange the white meat and dark meat separately on a serving platter.
And don’t forget to save the bones and turkey carcass! This can be used to add great flavor to a Turkey Stock made in a pressure cooker, or even simmered down into a rich, gelatinous bone broth. Any leftover turkey bits and pan drippings can also be used in a rich, homemade turkey gravy.
Need some inspiration this Turkey Day? Check out our library of recipes to find new and exciting dishes to try this Thanksgiving!
Join The Conversation