Your morning brew, made by you, perfected by Breville.


If you find yourself with a frozen turkey the morning of Thanksgiving, you are definitely not alone. And whether you’re a seasoned chef or a first-time cook, the looming deadline of dinnertime can seem especially daunting when you have the prospect of transforming a rock-hard bird into a juicy, flavorful centerpiece.
But with the right techniques and a bit of patience, even a frozen turkey can turn out to be the star of your festive meal. In this guide, we’ll break down the steps to cooking a frozen turkey to perfection.
Hungry for more? Explore our cooking classes! You’ll learn new recipes, tried-and-tested tips and kitchen tricks to make your next culinary adventure a breeze!

A frozen turkey on Thanksgiving might feel like a culinary curveball, but with a little adaptability, you can still serve up a meal to remember. Here are few approaches you can take:
Assess the frozenness and adjust.
Before diving in, determine just how frozen your turkey is. If it’s slightly icy, you might only need to extend your cooking time. However, if it’s solidly frozen, you’ll need to adjust your approach.
Safely thaw it.
If you have a bit of time, rapid thawing is your best friend in this situation. To do this, you’ll want to use a cold water bath for your turkey.
First, place your turkey in its original packaging into a sink or tub, breast side down. Then, fill the basin with cold water, ensuring the turkey is fully submerged. Finally, be sure to change the water every 30 minutes. Generally, it takes about 30 minutes of thawing time for each pound of turkey.
Cook from frozen.
If you’ve wondered if you can cook a turkey from frozen, the answer is yes! When there’s absolutely no time to thaw, you’ll need to adjust your prep and cooking time and get it in the oven ASAP.

Yes, you can cook a turkey straight from its frozen state, but there are some important considerations and adjustments to keep in mind.
*Remember, the giblets and neck should be removed—not just for culinary reasons, but also for safety. The bag that holds the giblets is often made of plastic, and while it’s designed to withstand some heat, it’s not meant to be cooked at high temperatures for the entire duration of the roasting process.

Roasting a frozen turkey is different than roasting a thawed one, mainly in terms of cooking time and the prep. Here’s a step-by-step guide to roasting a turkey straight from the freezer:
Preheat your oven to 325°F. This is a standard temperature that allows the turkey to cook evenly from frozen.
2. Prepare the turkey.
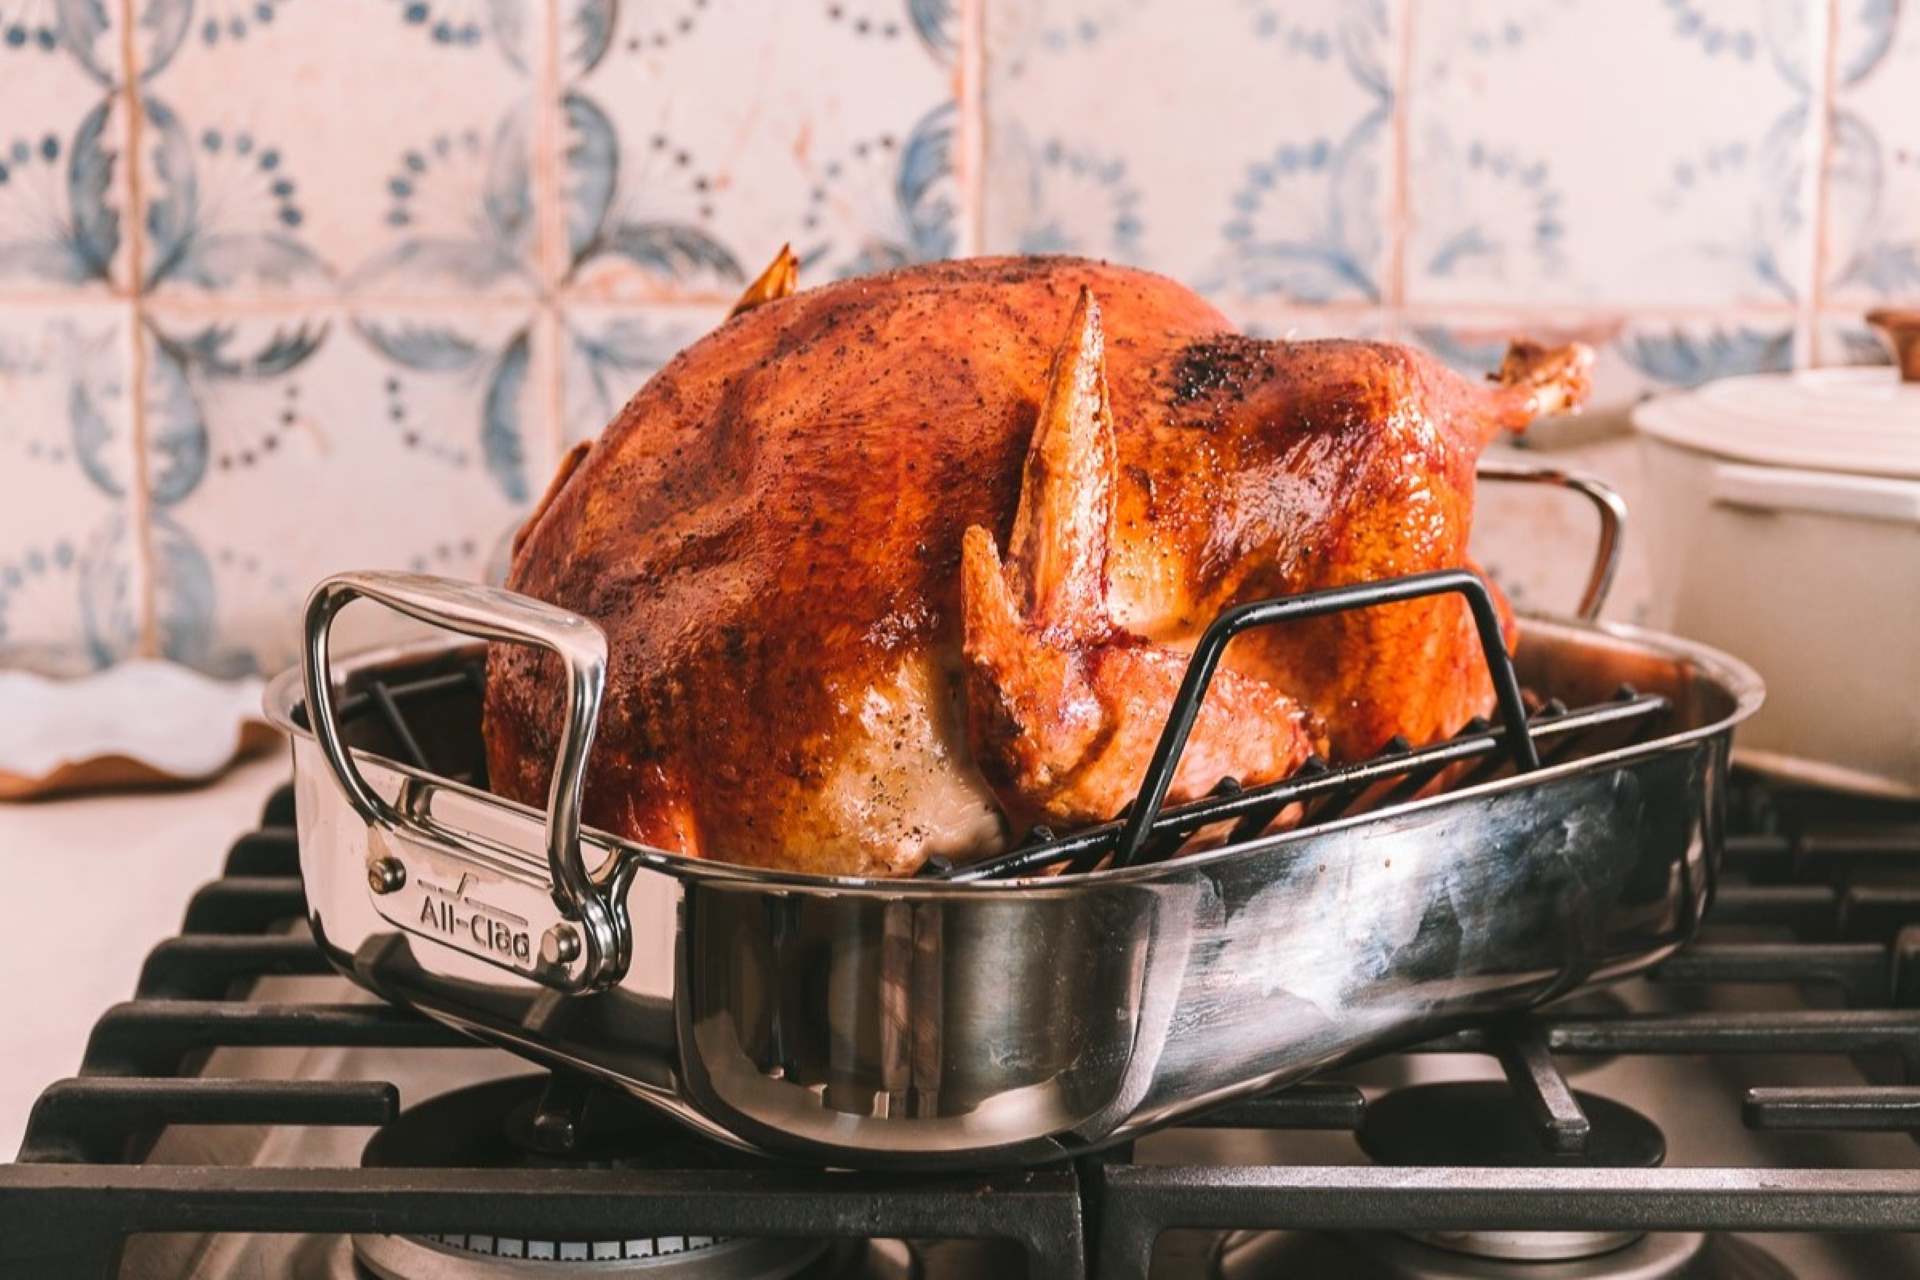
Remove any plastic packaging from the turkey. Place the turkey on a roasting rack inside a large roasting pan to catch any drippings. This ensures even heat circulation around the turkey. If the turkey has a plastic truss (to tie the wings back and help with the turkey shape), leave it in place as it’s designed to withstand oven temperatures.
3. Begin roasting.
Place the turkey in the preheated oven. For the first couple of hours, you’re essentially doing a partial thaw in the oven.
4. Remove giblets and neck.
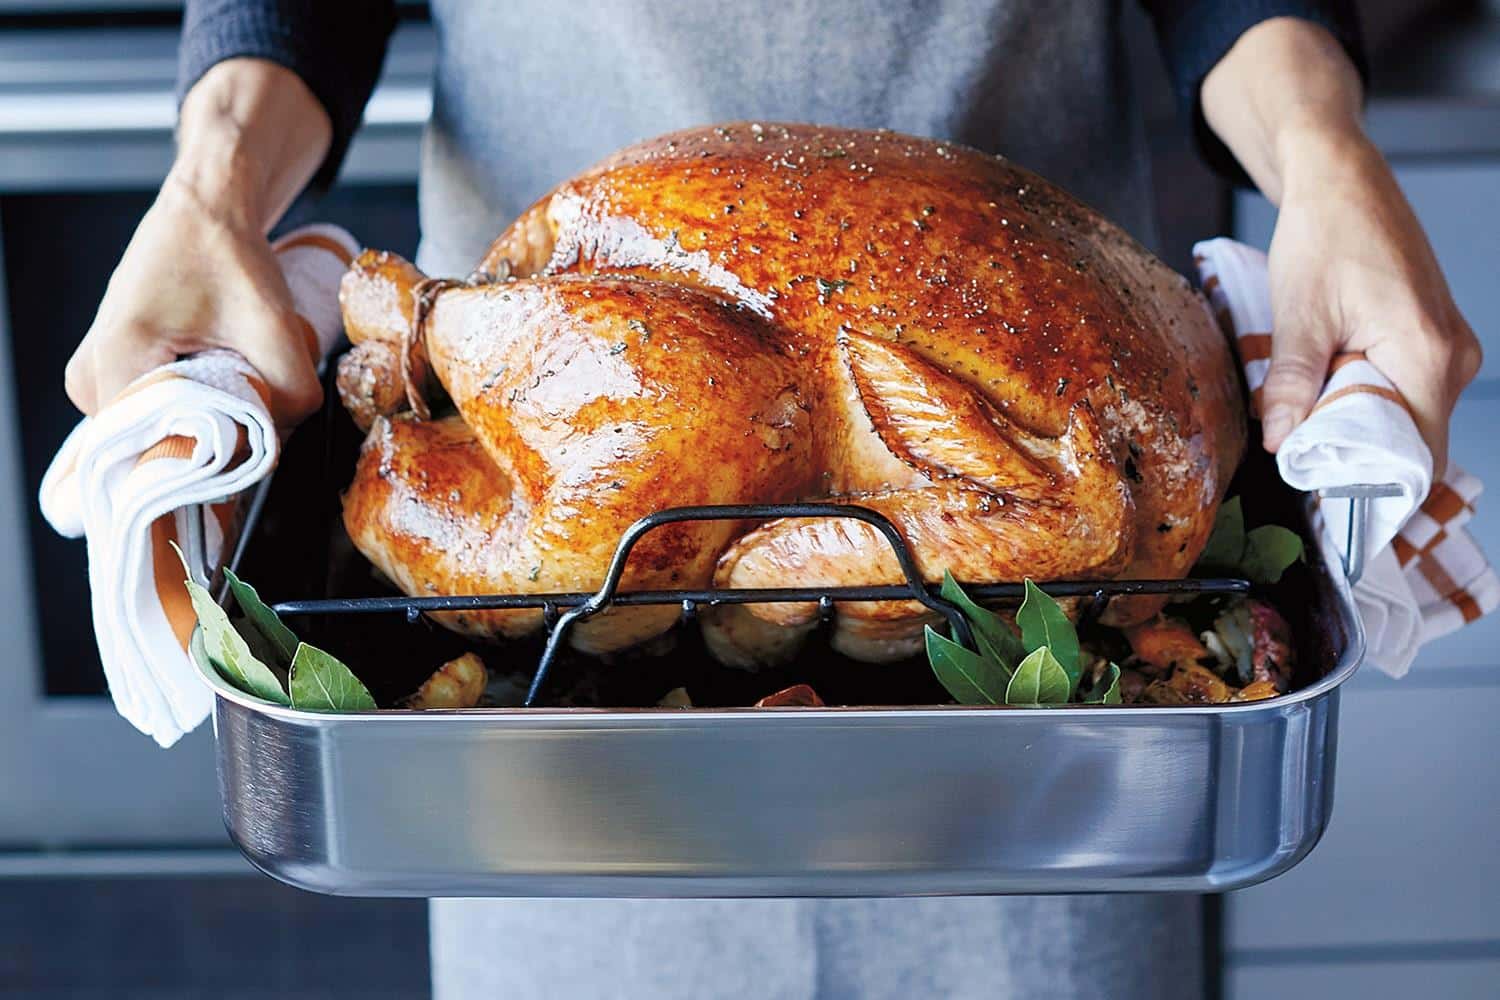
After approximately 1 to 2 hours (this can vary based on the size of the bird), the turkey should have thawed enough that you can now remove the giblets and neck from the cavity. Wear oven mitts, pull out the turkey, and carefully check the cavity.
If they can be removed, take them out. If not, check again every 30 minutes until they can be safely extracted.
5. Season the turkey.
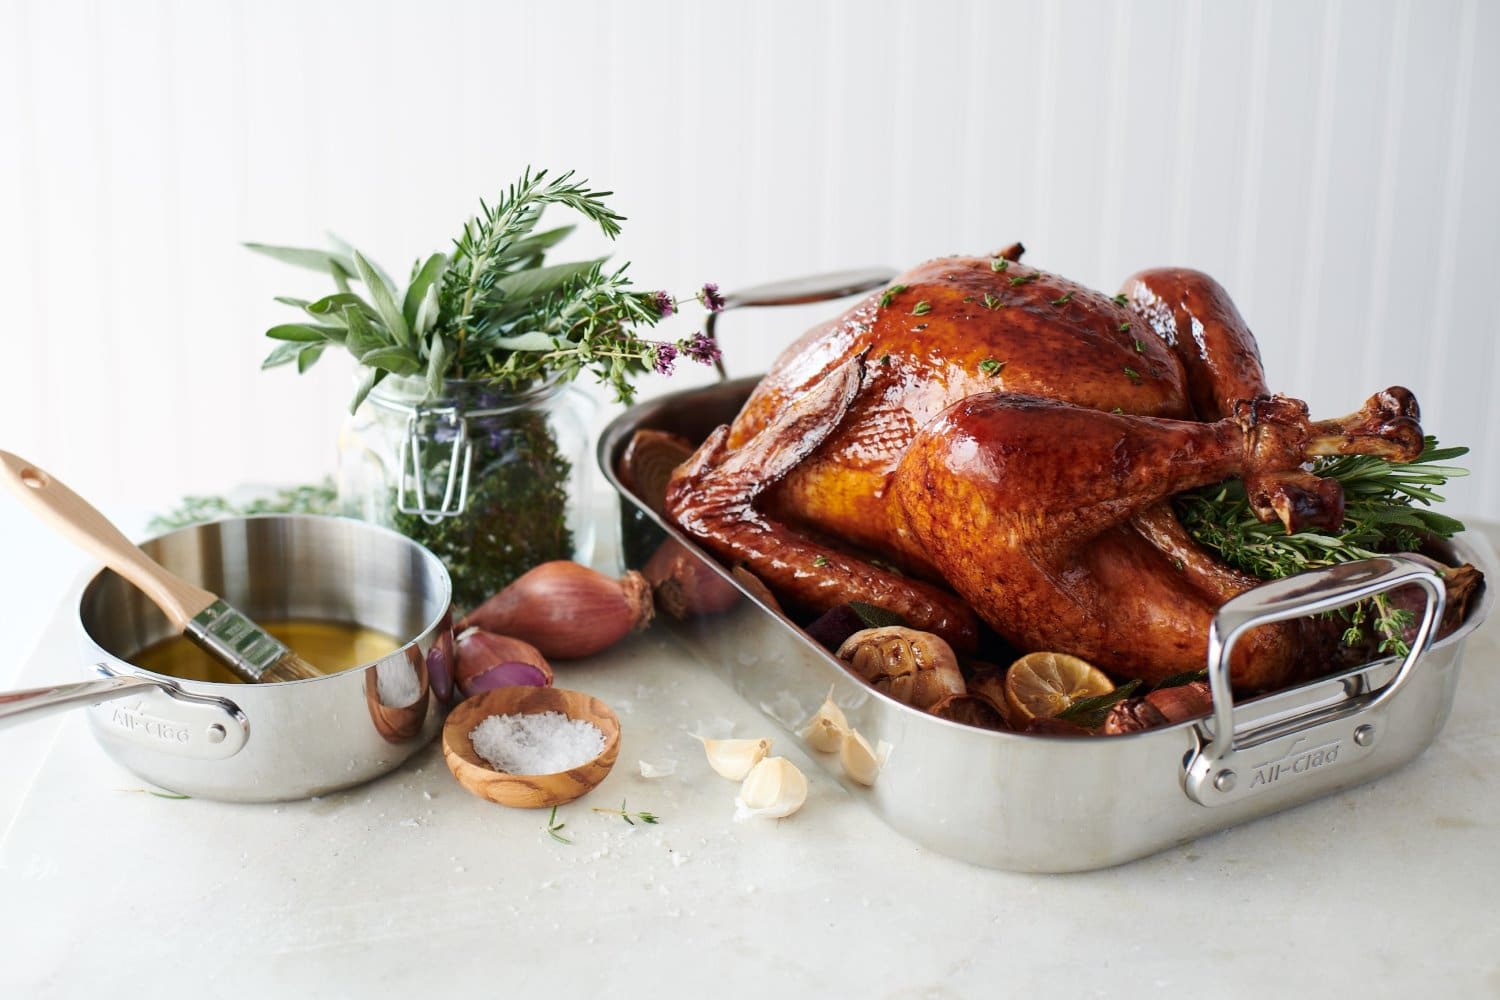
Once the turkey has partially thawed, which is typically after the giblets and neck have been removed, you can add some seasoning. Brush the turkey with melted butter or oil and sprinkle with salt, pepper, and any other desired herbs, spices or seasonings.
6. Continue roasting.
Return the turkey to the oven and continue to cook. A frozen turkey requires about 50% longer cooking time than a thawed turkey. Periodically use a turkey baster to draw up and pour the pan liquids over the skin to keep the bird moist, add flavor and help promote a golden skin.
7. Monitor internal temperature.
It’s vital to use a meat thermometer to ensure the turkey is cooked safely and adequately. Check the temperature in the thickest part of the thigh, the wing joint and the thickest part of the breast. The turkey is done when all these parts have reached a minimum internal temperature of 165°F. Don’t rely on the pop-up thermometer that may come with the turkey, as these are prone to incorrect readings—invest in a high-quality meat thermometer, which is far more precise and accurate.
Additionally, because cooking a frozen turkey can take significantly longer than a thawed one, the skin may darken quicker than you’d like. To prevent the skin from burning, consider tenting the bird with foil.
*Note: Be sure to consider carryover cooking, as the residual heat continues to raise the internal temperature of the meat for a while after it’s out of the oven. A rule of thumb is to remove the turkey from the oven when the thermometer reads about 160°F in the thickest part of the breast and thigh. Let it rest, and during that time, the temperature should rise to the safe minimum of 165°F.
8. Rest and carve.
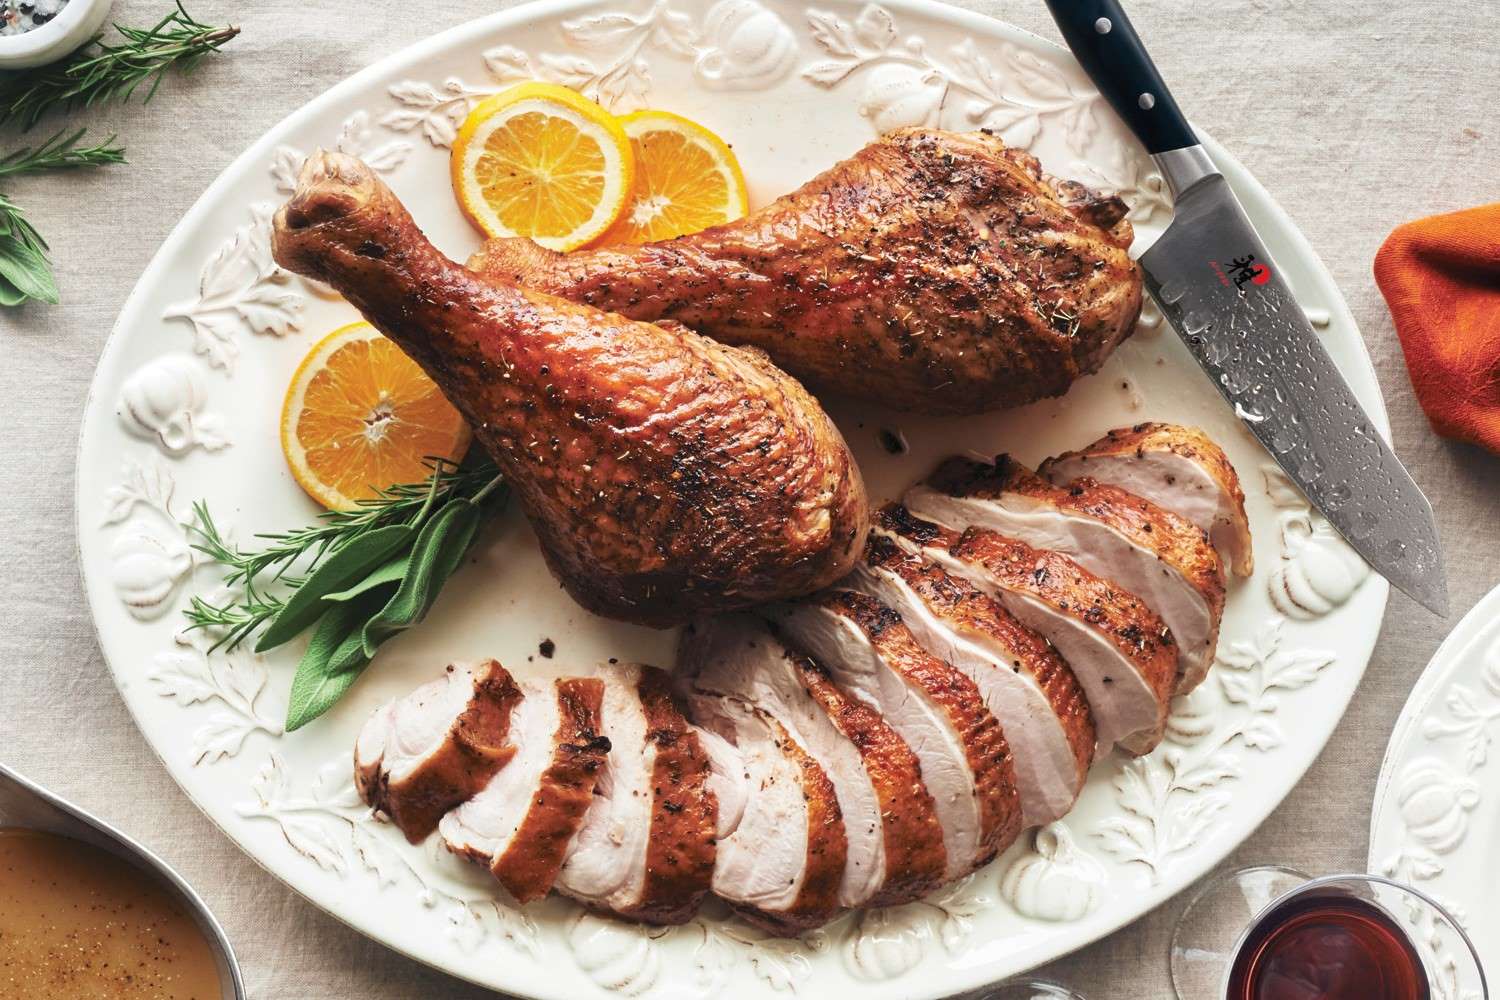
Let your turkey rest for 20–30 minutes to allow the juices to redistribute throughout the meat, ensuring a moist turkey. After resting, use a carving knife to slice your turkey and serve.
Hungry for more? Explore our cooking classes! You’ll learn new recipes, tried-and-tested tips and kitchen tricks to make your next culinary adventure a breeze!
Join The Conversation