Your morning brew, made by you, perfected by Breville.


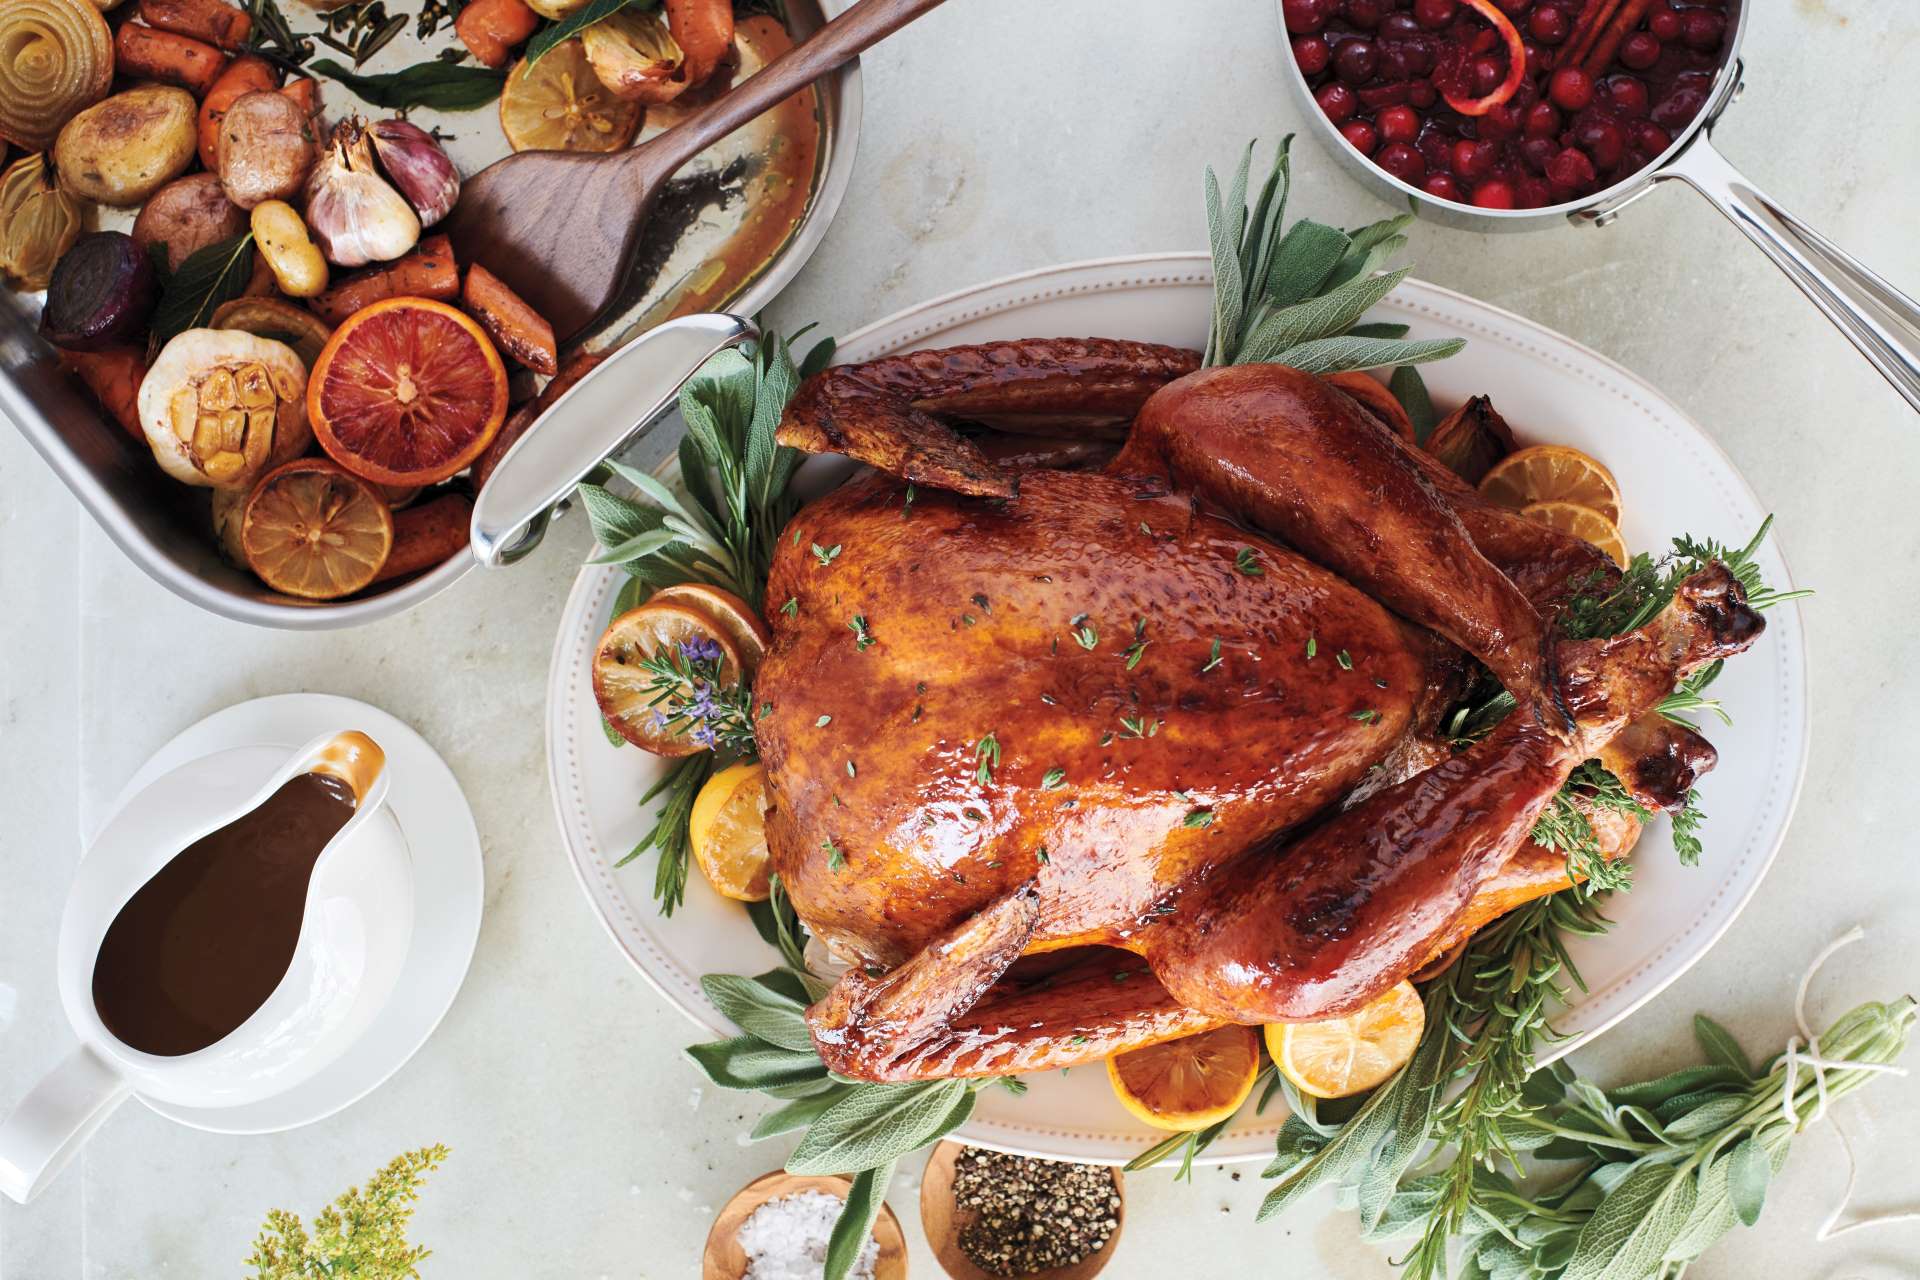
When it comes to Thanksgiving, few dishes garner as much stress—or as much joy—as the turkey.
It is, after all, the centerpiece of the meal.
But we at Sur La Table think it’s time to say “buh-bye” to turkey terror and instead, welcome the joy that comes with a perfectly cooked bird.
So, we asked our chefs for tips on how to prepare your Thanksgiving turkey—from buying the bird all the way through to the moment you pull it out of the oven.
Don’t let Turkey Day catch you by surprise! With tips on menu planning, table setting and even a foolproof turkey guide, we’ve got everything to ensure the big day goes off without a hitch.
Read our Thanksgiving Planning Guide
Here’s a rule of thumb: plan for 1½ pounds of turkey per guest.
Because the weight of a turkey includes the bones, you’ll want to make sure you’re planning for that when you go searching for the perfect bird. If your guests enjoy leftovers, you can even bump it up to 2 pounds per person.
Here’s a breakdown:
Need help planning your menu? Check out our guide for tips on portion sizes for everything from appetizers and alcohol to turkey and pie!
According to the USDA, the best way to thaw your turkey is in the refrigerator. This allows the turkey to thaw at a safe and consistent temperature.
However, it can be a little time consuming, so make sure you plan ahead!
You’ll want to allow 24 hours for every 4-5 pounds. So, if you have a 10-lb. turkey, it’ll likely take about 2 days to thaw. If you’re hosting a whole crew and opting for a 15+ lb. bird, expect 3-4 days for it to completely thaw.
You can keep the thawed turkey in the refrigerator for up to 2 days once it is thawed, which means you can start thawing it a few days earlier than necessary to be safe.

If you’ve never experienced the juicy, flavorful tenderness of a brined turkey, here’s your sign.
While certainly not required, brining helps pack the turkey with moisture and flavor. And there are 2 ways to do it: dry brining or wet brining.
Both methods work roughly the same way—they infuse the meat with salt which breaks down the muscle proteins in the meat. When it’s roasting, the muscles in the turkey can’t contract, which reduces the amount of liquid expelled from the turkey during the cooking process and helps the meat retain more water.
The biggest difference is in how the salt works.
With a wet brine, you soak the turkey in a salt-water solution (sometimes herbs and other aromatics are used in addition to salt) for up to 24 hours. This increases the amount of liquid in the turkey by up to 40% and the salt helps the muscles retain that water during cooking.
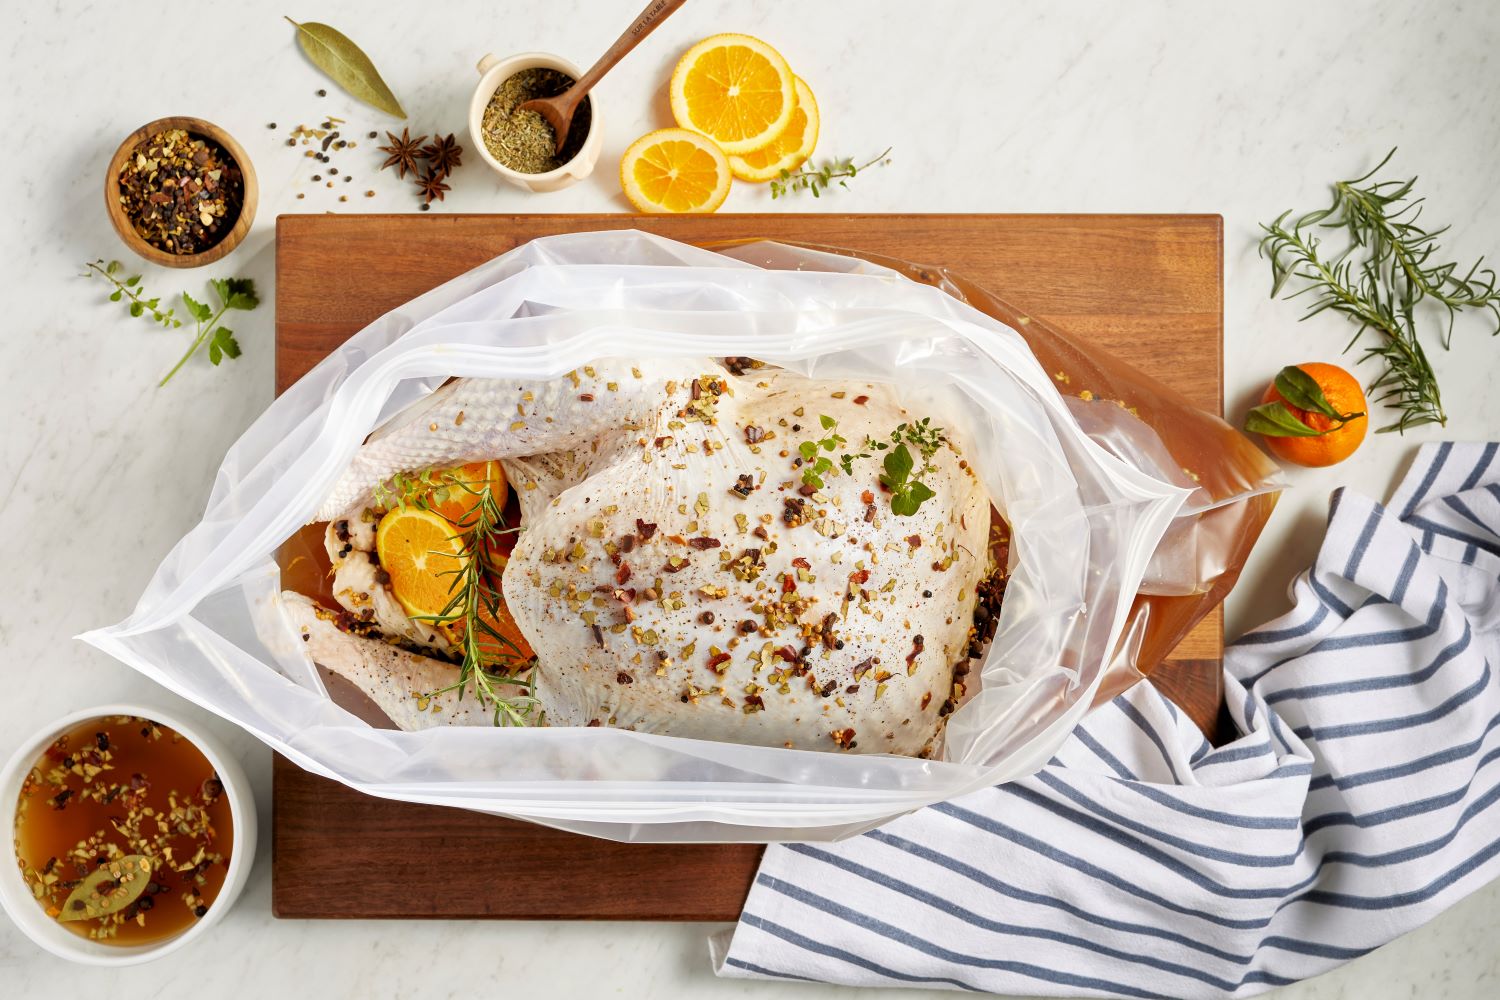
With a dry brine, the outside of the turkey is coated with the salt solution (again, you can also mix herbs with the salt for added flavor) and its natural water content is drawn out of the meat. It then mixes with the turkey’s juices and is reabsorbed by the meat. When cooking, the salt breaks down the muscle proteins (as stated above) and prevents them from releasing any liquid.
The easiest way to decide which method to choose comes down to space. With a wet brine, the turkey needs to be submerged in a salt-water solution and kept below 40°F. This is typically done with a bucket or a large stockpot and can take up precious fridge space.
With a dry brine, the turkey can sit in a brining bag in a roasting pan until it’s ready. This takes up less space in the fridge, so it’s something to consider.
While this part comes down to preference, there are still some tried-and-true chef’s tips you can use to ensure your bird is ready for the oven!
Chef’s Tip: Don’t stuff your turkey. While extremely popular, stuffing your bird can suck all of the moisture out of the meat. Additionally, by the time the stuffing has reached a safe internal temp of 165°, the turkey will likely be overcooked.
Instead, opt for a stovetop or oven-baked stuffing recipe to pair with your turkey.

This will depend mostly on two factors:
A good rule of thumb is to expect 15 min./lb. for unstuffed turkeys and 20 min./lb. for stuffed turkeys. So, decide what time you want to eat and work backward, allowing 30-45 minutes for the bird to rest once it comes out of the oven.
So, if you’re cooking a 10-lb. turkey, you can expect it to take roughly 150 minutes, or 2½ hours, to cook.
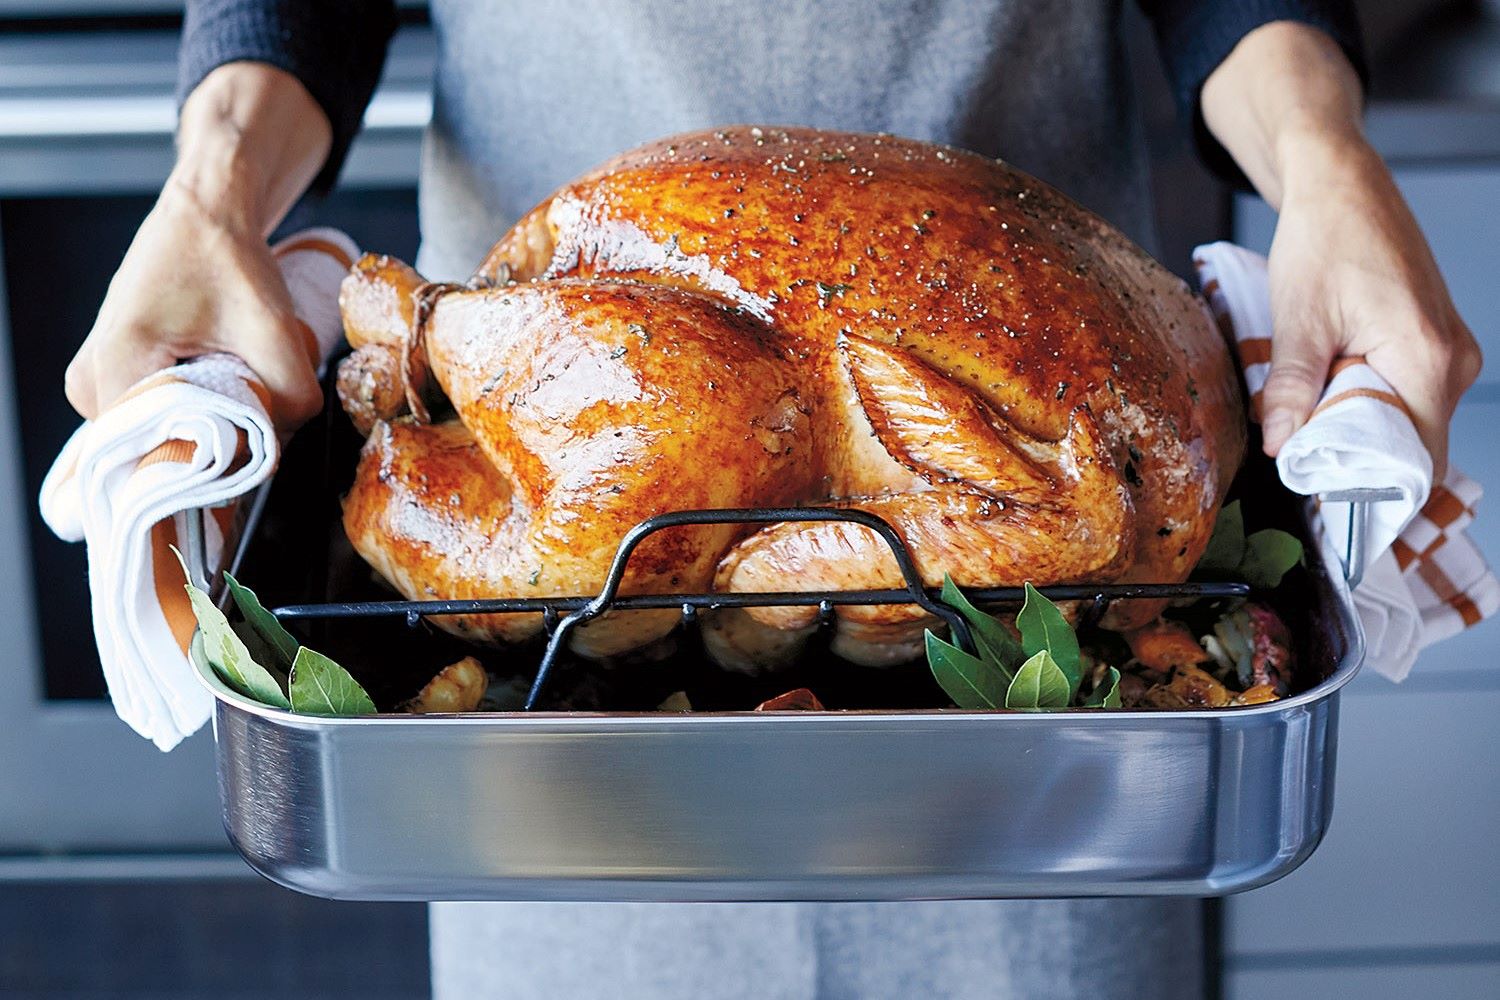
Place the prepared turkey in an oven preheated to 425°F for about 45-60 minutes, rotating the roasting pan about halfway through. This blast of heat will give you that beautiful brown, crispy skin.
After 60 minutes, reduce the heat to 350°F and continue to cook until it reaches an internal temperature of 165°F, basting every 40 minutes. When it’s done, remove the turkey from the oven, tent it loosely with aluminum foil and leave it to rest for 30-45 minutes.
Chef’s Tip: By letting your turkey rest, you’re allowing the meat to reabsorb the juices which will make for a moist and delicious turkey.
Carve your turkey like a pro! Check out our “How to Carve a Turkey” guide with 8 easy-to-follow steps.
Ask the Chef
As far as turkeys go, you will have 2 options: fresh or frozen.
Frozen turkeys are typically less expensive than fresh ones and can often be found year-round, which means you could buy the bird way ahead of Thanksgiving and store it in your freezer until the week of. However, if you buy it too early and freeze it for too long, the cold temps can affect the taste and texture of the meat.
Because fresh turkeys tend to be free-range or organic, they also tend to be more expensive than frozen ones. There is also a higher cost to transport them, as they have to arrive at the store or butcher as close to the holiday as possible.
There are also a few things to consider when it comes to taste. Fresh turkeys have a more natural “gamey” taste and can have a tougher, chewy texture. However, fresh turkeys retain their moisture better than frozen ones, which means a more flavorful bird come Thanksgiving Day.
Frozen turkeys are often fed more corn and grain-based diets which leads to the sweeter, more tender meat many of us know and love. They do, however, suffer from a lack of moisture from the freezing process, which often results in a dry bird. To mitigate this, meat processors will inject a brining liquid (which is some combination of salt, broth or water, oil and seasoning) before freezing. How you feel about a pre-brined bird is up to you.
There you have it—a foolproof plan to ensure your turkey is the star of the show! And while it may seem daunting, remember that Thanksgiving is about gathering with loved ones to celebrate and enjoy each other’s company. So, even if the turkey comes out a tad drier or less crispy than you wanted, it will still be appreciated, and very much enjoyed, by all.
Don’t let Turkey Day catch you by surprise! With tips on menu planning, table setting and even a foolproof turkey guide, we’ve got everything to ensure the big day goes off without a hitch.
Join The Conversation