A down-home kind of summer.


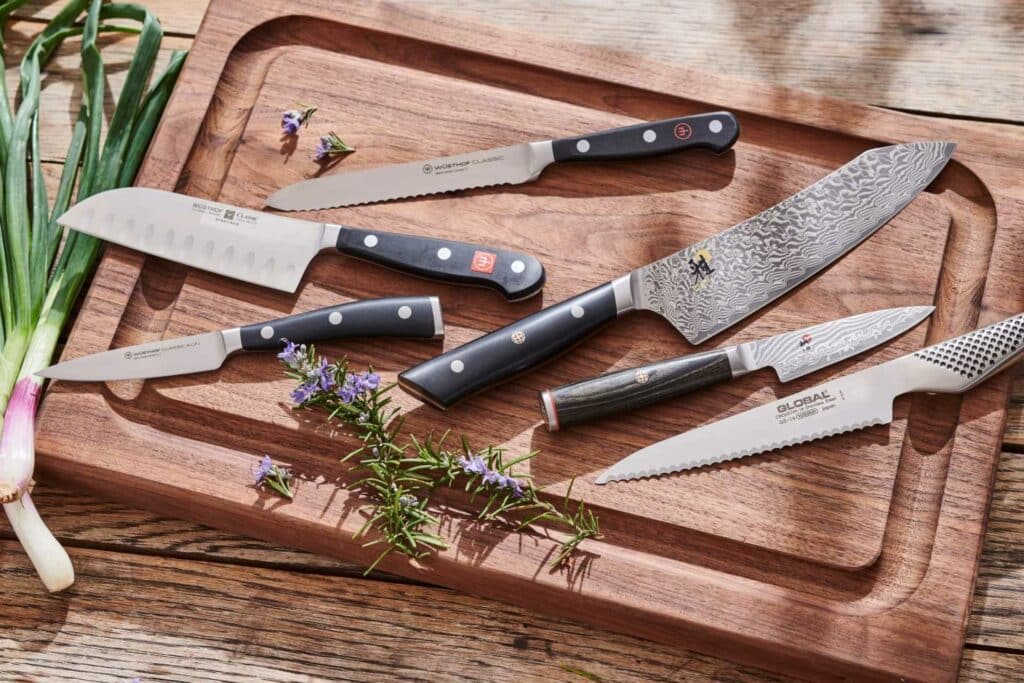
A dull knife can turn even the most enjoyable cooking experience into a frustrating and time-consuming task.
Whether you’re an aspiring home chef or a seasoned cooking enthusiast, knowing how to sharpen knives at home is a valuable skill that can ensure you have the best culinary experiences at home. Not only does a sharp knife make slicing and dicing effortless, but it also ensures safety in the kitchen by reducing the risk of accidents caused by a lack of control over a dull blade.
In this guide, discover how to sharpen kitchen knives at home and discover the right tools, techniques and tips to ensure you achieve a razor-sharp blade at home.
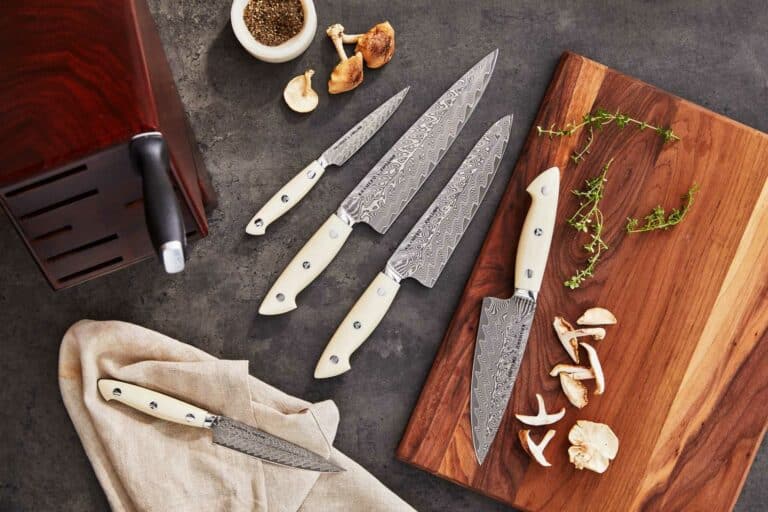
Hungry for more? A quality knife is an essential tool to a well-stocked kitchen, and we’ve got the one that’s perfect for yours. Plus, all knives ship free!

With the right tools at your disposal, you’ll be well-equipped to bring back the sharpness and precision to your knives, making your culinary adventures more enjoyable—and more efficient.
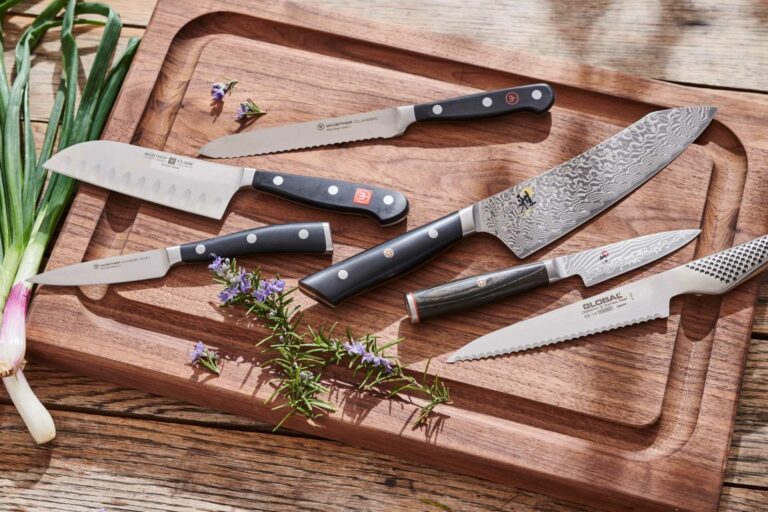
The best way to sharpen knives at home effectively starts with the right tools. Some at-home knife sharpening items you’ll need include:

Now that you have the right tools for sharpening knives at home, you can easily transform dull blades into razor-sharp instruments that make chopping and julienning a breeze. Follow these steps to learn how to sharpen your knives at home effectively:
1. Prepare the sharpening stone.
Soak the sharpening stone in water for the recommended time mentioned by the manufacturer. Some stones require soaking, while others may only need a splash of water. Place the stone on a damp towel or a stable cutting board to prevent slipping during sharpening.
2. Understand the knife’s bevel.
Most kitchen knives have a bevel angle between 15–20°. The bevel angle refers to the angle at which the blade is sharpened. Determine the bevel angle of your knife by checking the manufacturer’s specifications or doing a quick online search.
3. Start with the coarse grit side of the stone.
Hold the knife firmly with one hand, ensuring your fingers are away from the blade. Next, position the knife’s edge against the stone at the desired bevel angle. You’ll want to apply light pressure and move the knife across the stone in a sweeping motion, maintaining a consistent angle. Start from the base of the blade and move towards the tip.
Repeat this process on both sides of the blade for about 5–10 strokes, or until you see a burr (a thin metal ridge that indicates the edge is being shaped) or slight edge formation.
4. Switch to the fine grit side of the stone.
After using the coarse grid side of the stone, you’ll need to rinse the stone to remove any metal particles, then flip it to the fine grit side. Repeat the same sharpening process as before, but this time, use lighter pressure. Continue sharpening until you achieve a sharp and polished edge on both sides of the blade. This step helps refine the edge and remove any burrs from the coarse sharpening.
5. Test for sharpness.
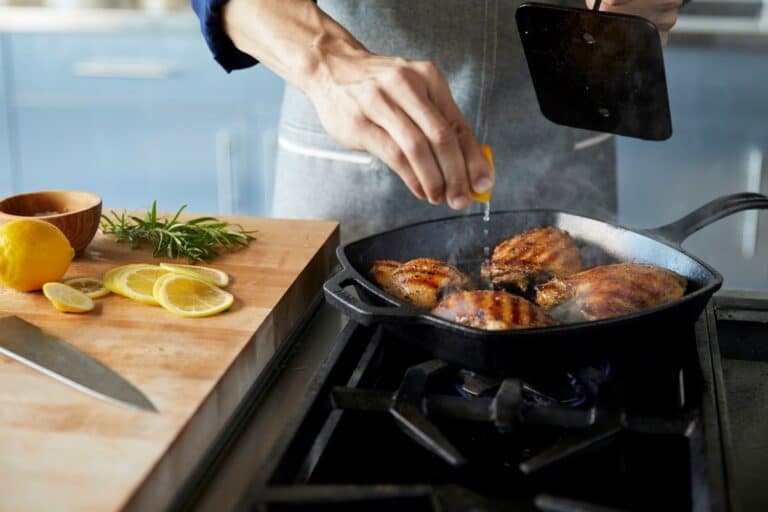
Carefully wipe off any residue from the blade, then test the sharpness by gently slicing through a piece of paper or a tomato. A sharp knife should glide through effortlessly. If it doesn’t cut smoothly, you may need to repeat the sharpening process.
6. Keep up with honing and maintenance.
Regularly use a honing rod to maintain the sharpness of your knives between sharpening. To use a honing rod, hold the rod vertically and run the blade along its length at a 15–20° angle. Perform several passes on each side of the blade to realign the edge and remove any minor dullness.

Remember to exercise caution while sharpening knives at home.
Keep your fingers away from the blade, maintain a consistent angle and work on a stable surface. It’s also important to store your knives properly to keep the blade in optimal condition—and ensure safety in the kitchen. There are a variety of knife storage options that can work for your kitchen space and aesthetic, including:
Be sure to keep knives separate and avoid storing knives in a way that allows them to rub against each other, as this can cause damage to the blades. Each knife should have its own designated space or sheath. You’ll also want to dry knives before storage, so before putting knives away, wipe the blades with a clean cloth and make sure they are completely dry to prevent moisture buildup (which can lead to corrosion).
Hungry for more? A quality knife is an essential tool to a well-stocked kitchen, and we’ve got the one that’s perfect for yours. Plus, all knives ship free!


Join The Conversation