Your morning brew, made by you, perfected by Breville.


Summer is the perfect season to indulge in a delightful variety of seafood dishes, and one delicacy that stands out among the rest is the oyster—briny, succulent and subtly sweet.
Oysters, known for their unique taste and texture, have long been a seafood favorite enjoyed by people around the world. And shucking oysters (the process of opening their shells to reveal the meat inside) has always been an added part of the culinary experience, ensuring that the oysters are at their freshest.
Shucking oysters can seem challenging initially, but with practice and the right technique, it becomes easier over time. The level of difficulty can vary depending on factors such as the freshness of the oysters, the type of oyster knife used and your comfort and skill levels.
In this article, we’re breaking down everything you’ll need to shuck oysters like a pro—plus, get step-by-step instructions for how to open oysters home.
Hungry for more? Explore our cooking classes! You’ll learn essential skills, get tips from our resident chefs and receive new take-home recipes that will inspire your next gathering.

Oysters are prized bivalve mollusks that offer a unique and exceptional dining experience.
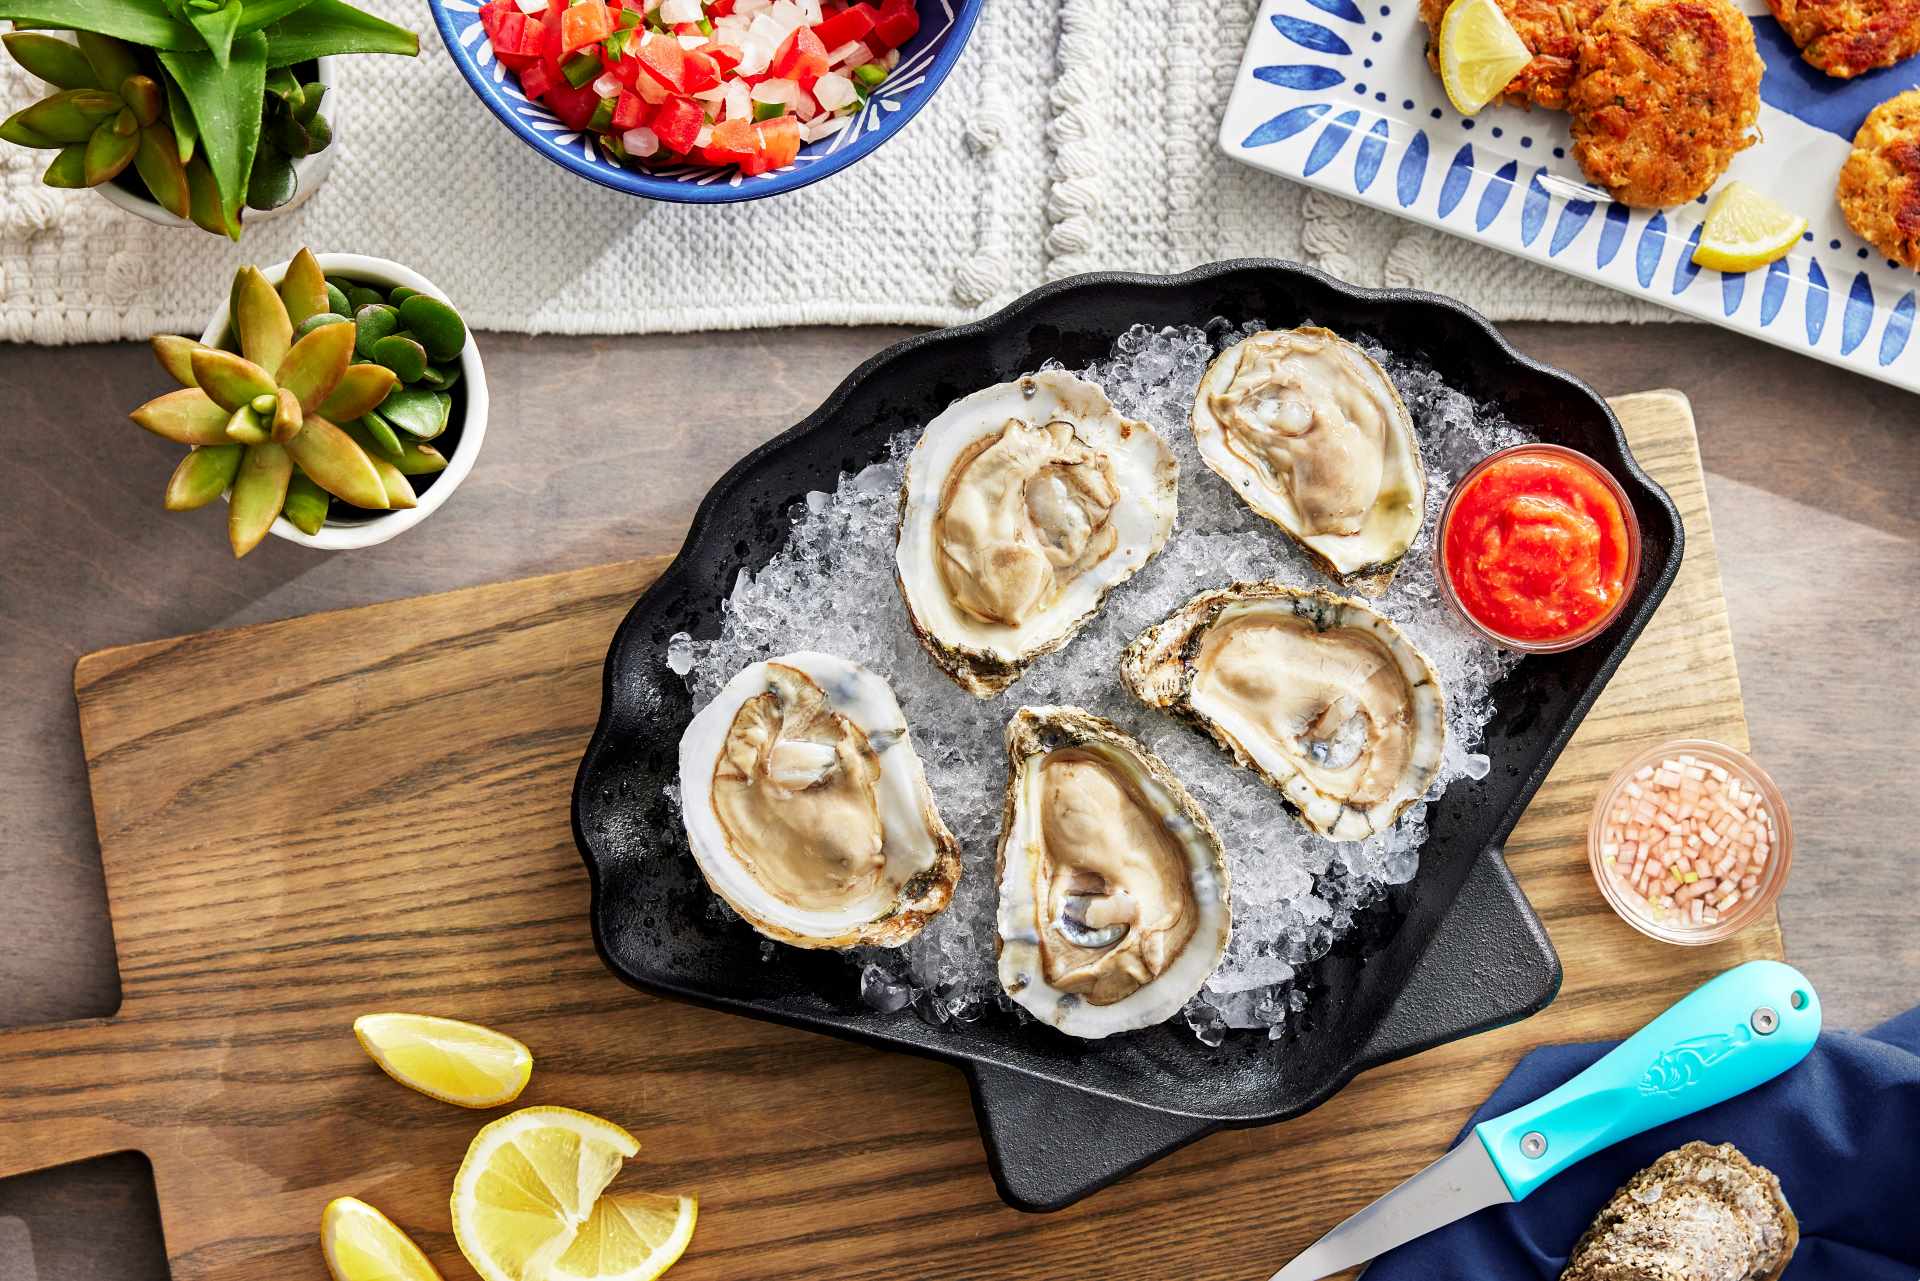
They are highly regarded for their distinct flavor and delicate texture. Raw oysters, served on a half shell, are a popular choice among oyster enthusiasts. Their taste can range from briny and salty to mildly sweet, depending on the species and the environment in which they are harvested. The raw presentation allows the natural flavors to shine, and they’re often paired with simple ingredients like lemon juice or shallot vinegar to elevate the taste.
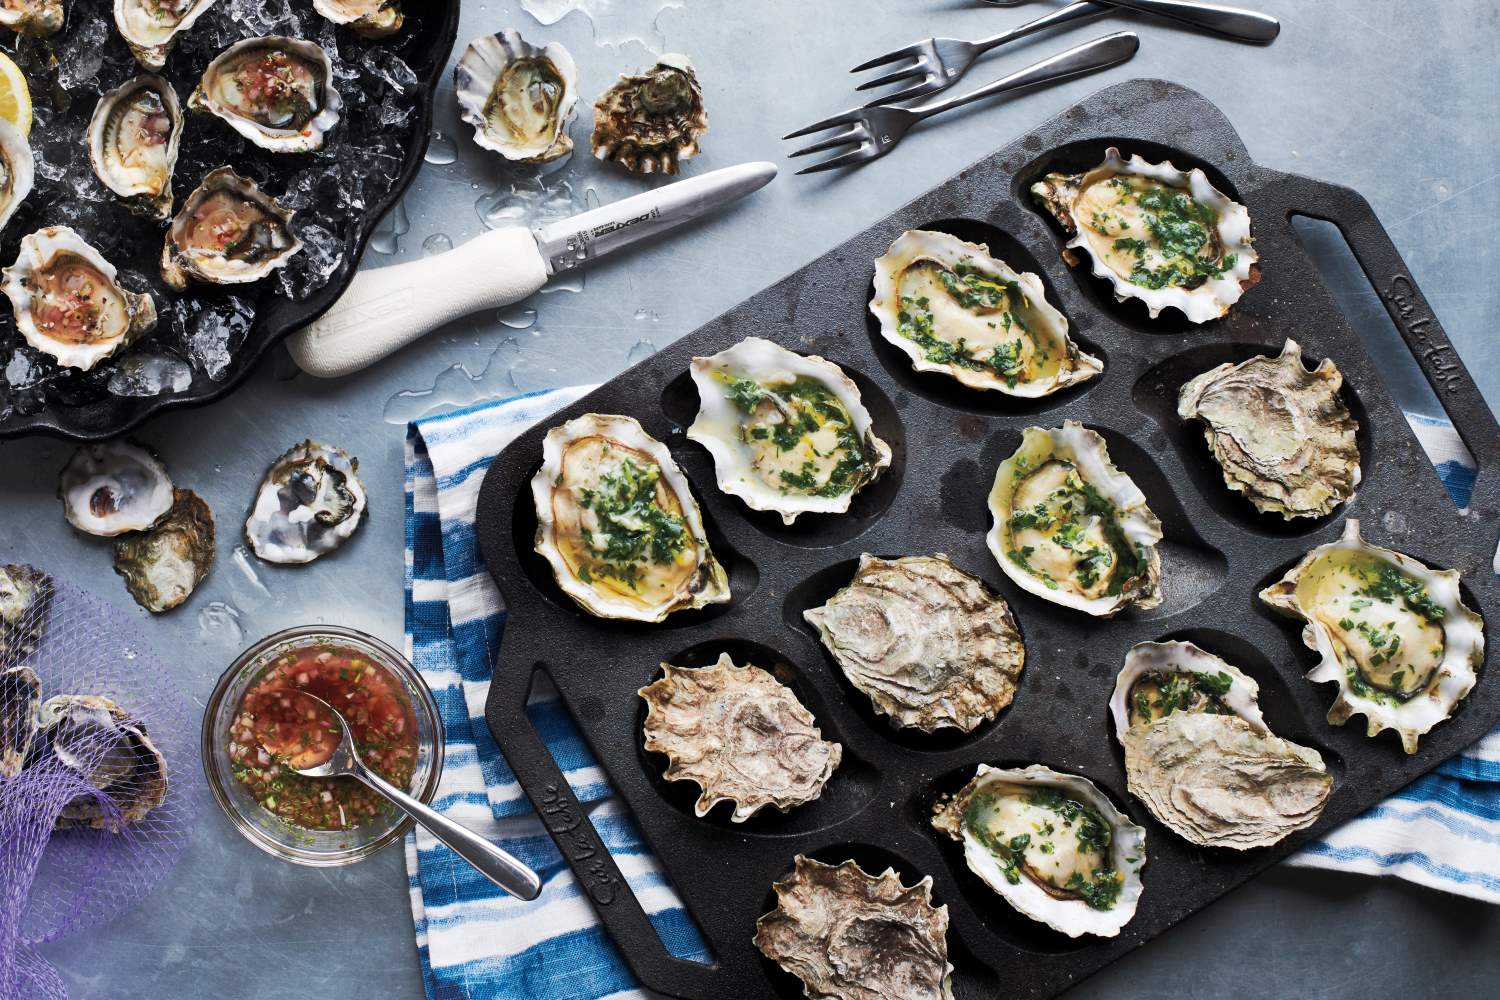
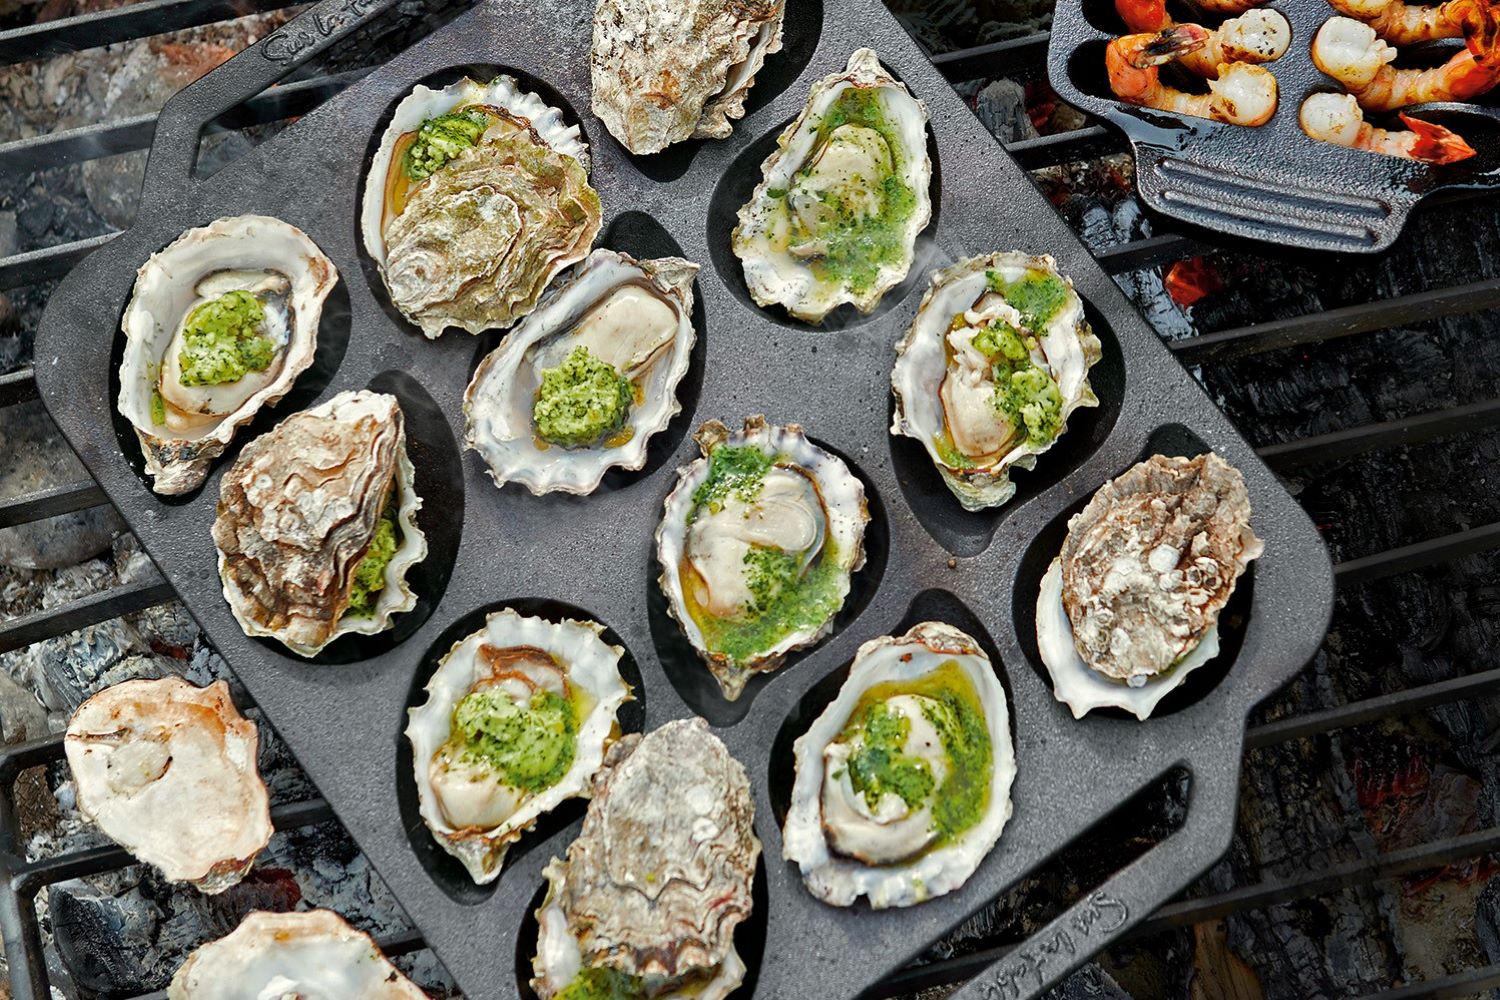
Cooked oysters are also popular—they can be grilled, baked, fried or incorporated into various dishes such as soups, stews or pastas. Cooking methods can bring out different dimensions of flavor and texture in oysters, from the smoky char of grilled oysters to the creamy richness of baked preparations.

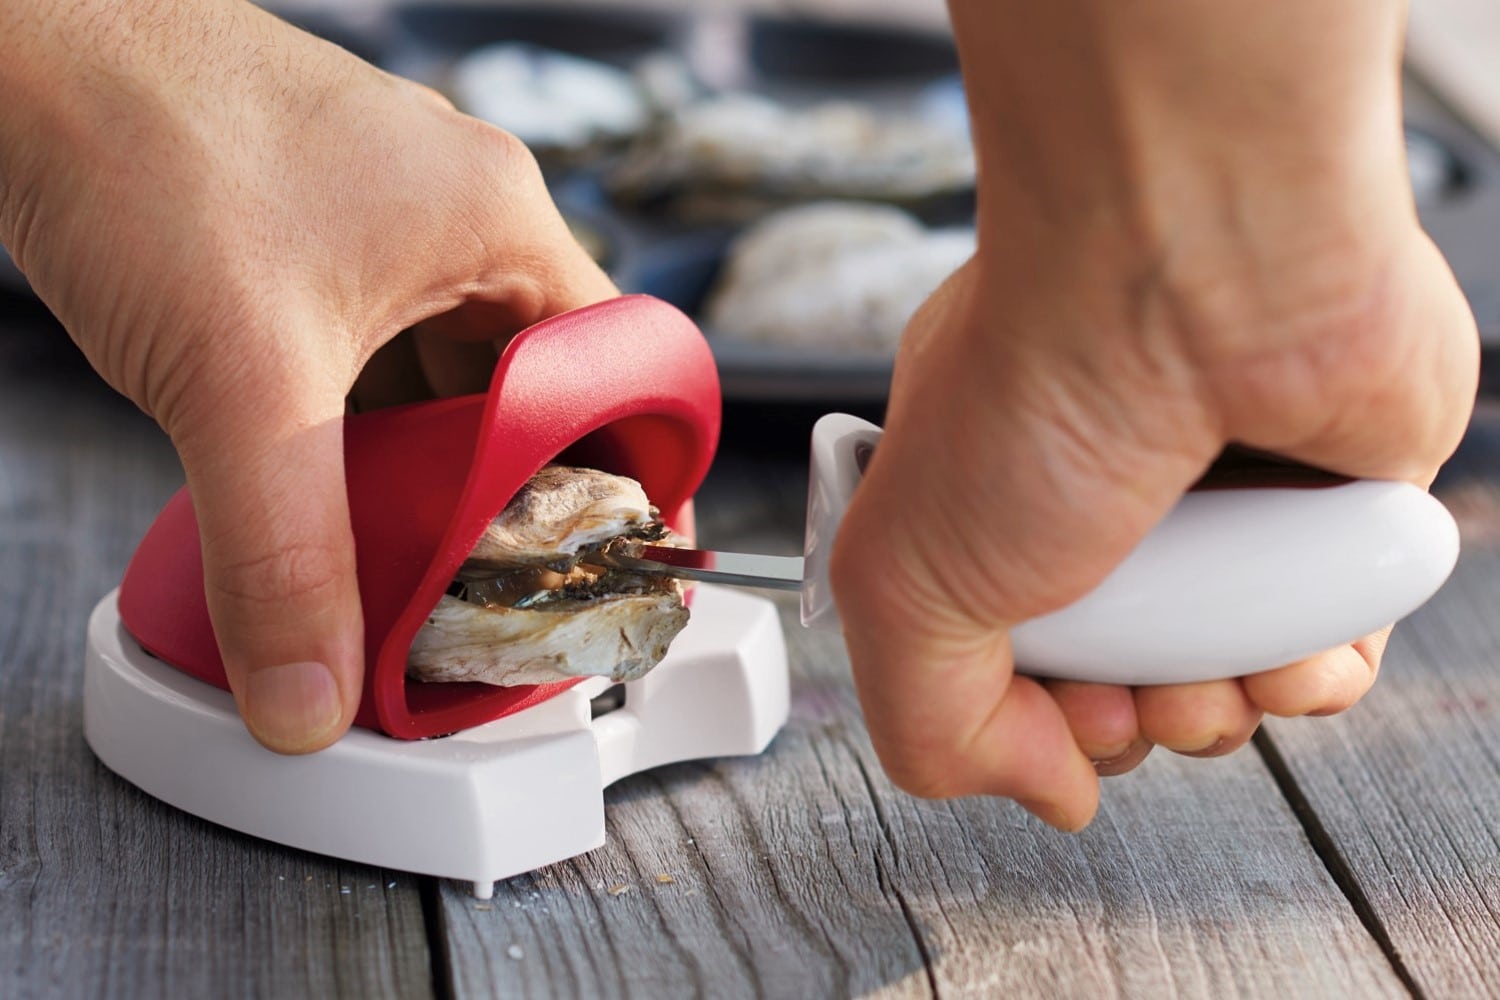
When it comes to the art of shucking oysters, having the right tools at your disposal can make all the difference between a smooth and enjoyable experience or a frustrating one. Just like a painter needs their brushes and a chef needs their knives, shucking oysters requires a set of specialized tools. Here’s what you’ll need to start shucking oysters like a pro:

While it may take some practice to feel comfortable shucking oysters, it can be an enjoyable and rewarding experience even as you’re learning—allowing you to appreciate the freshness and taste of the oysters while adding a touch of culinary expertise to your repertoire. Here are a few tips for selecting and storing your oysters to ensure you’re set up for success:

Once you have your oysters and tools ready, it’s time to shuck! Be sure to start with fresh oysters that are properly stored and handled. Rinse the oysters under cold water to remove any loose dirt or debris and discard any oysters with cracked or open shells before shucking.
These steps will help you shuck an oyster like a pro:
Once you’ve mastered the art of shucking, there are endless ways to savor your freshly opened oysters. A few ideas include:
Hungry for more? Explore our cooking classes! You’ll learn essential skills, get tips from our resident chefs and receive new take-home recipes that will inspire your next gathering.
Join The Conversation