Decisions, decisions.


If the new year put you on a smoothie or soup kick, your blender might be getting more action than cleaning. This isn’t a bad thing, but it might need more than a casual scrub.
Leanne Stapf, COO of The Cleaning Authority, suggests a deep clean every few weeks to prevent the potential of food buildup and bacteria growth. Deep cleaning can also help in maintaining the longevity of your appliances.
But let’s face it—we probably tossed our user manuals years ago. So, we put together a comprehensive guide with step-by-step instructions on how to keep your blenders in top-notch condition with a few deep cleaning tips of our own.
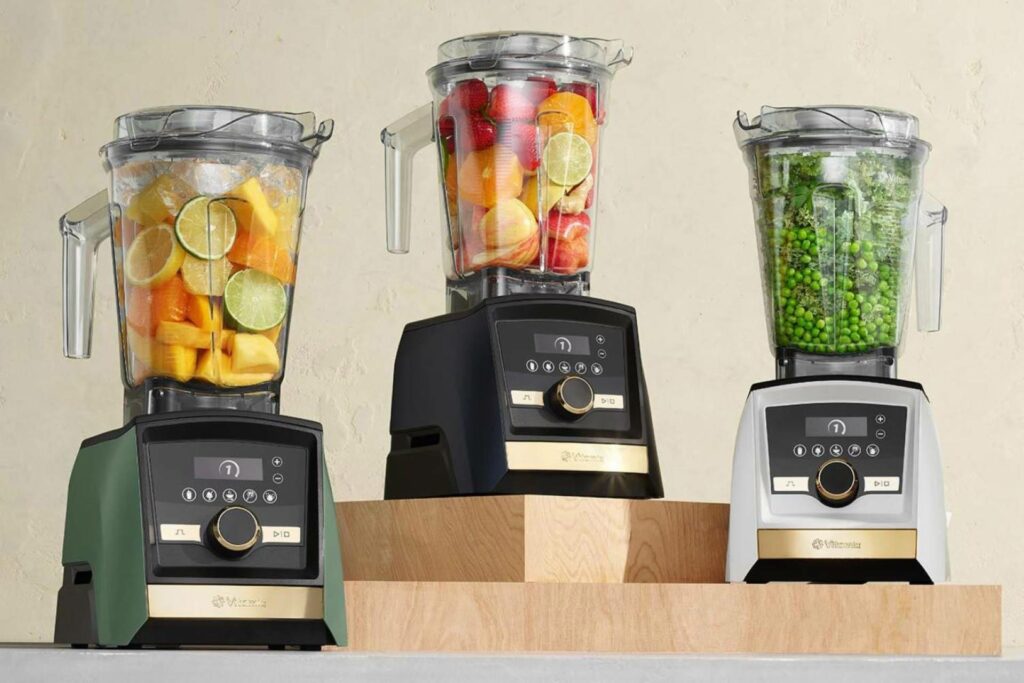
Hungry for more? From smoothies and purées to sauces and soups, a blender will elevate your kitchen game like no other. Explore our blender collection to find the perfect addition to your kitchen!

Cleaning your blender doesn’t have to be a time-consuming task. Some blenders even come equipped with self-cleaning cycles. But if yours doesn’t, here’s what you need to do.
Step 1: Take the Blender Apart
Start by unplugging your blender and remove the jar from its base. If needed, make sure to empty the contents of the jar into the sink and set the lid aside.
Step 2: Wash the Jar
You’ll then clean the jar with warm, soapy water and a sponge. If the blade is affixed, try to avoid reaching down to clean it with the sponge. Then, simply rinse it under warm water. The jar can often be washed in the dishwasher, although handwashing is faster and can eliminate etching on the glass or plastic.
Step 3: Wash the Small Parts
If the blade is detachable, you can hand wash the gasket seal, cutting blade and jar base by soaking them in a large bowl of warm, soapy water. Just be cautious of the sharp edges of the blade. Rinse parts thoroughly and dry them.
Step 4: Clean the Blender Base
Rule number one: always unplug the blender before cleaning the blender base. Never submerge it in water or put it in the dishwasher. Just wipe it down with a warm, damp cloth. Don’t forget to wipe down the cord periodically and check it for damage.
Step 5: Reassemble the Blender and Store
Make sure everything is completely dry before reassembly. If you use your blender often, store it on your countertop or in an easily accessible cupboard.
Pro Tip: If you don’t have time for a thorough cleaning, this 30-second cleaning hack is a great go-to:

Immersion blenders are a chef’s go-to—from frothy milkshakes to smooth sauces, this device makes prep work a breeze. But as handy as they are, they can be dangerous to clean. Here’s how to get the job done swiftly and safely.
Step 1: Prep the Wash
After blending your soup, smoothie or purée, fill a tall glass three-quarters full of warm, soapy water.
Step 2: Run the Immersion Blender
Run the blender in the water for 10 to 20 seconds. If it’s still not clean, empty, refill and repeat. Your immersion blender will be like new.
Step 3: Unplug, Dry and Store
After cleaning, unplug your blender and let it air dry. Make sure each piece is completely dry before storing. Moisture during storage can lead to mildew, which is not ideal.
Rinse the blades right away (unplugged, of course). The longer you wait, the more the food will dry and harden, making it more difficult to clean.
If you didn’t have time to rinse right away, you have two options: dishwasher or soak. Make sure the blender attachment is dishwasher safe. If it is, pop it on the top rack of the dishwasher. If it’s not, soak it in warm water and then use the above method to clean it.
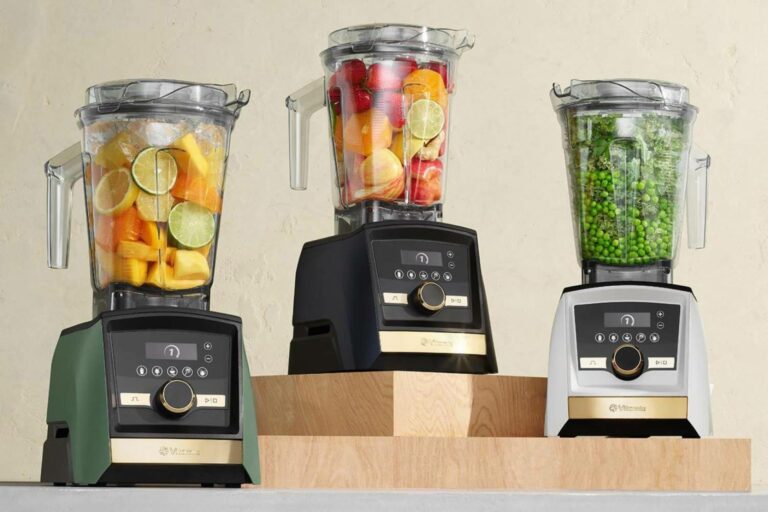
Hungry for more? From smoothies and purées to sauces and soups, a blender will elevate your kitchen game like no other. Explore our blender collection to find the perfect addition to your kitchen!


JOIN THE CONVERSATION