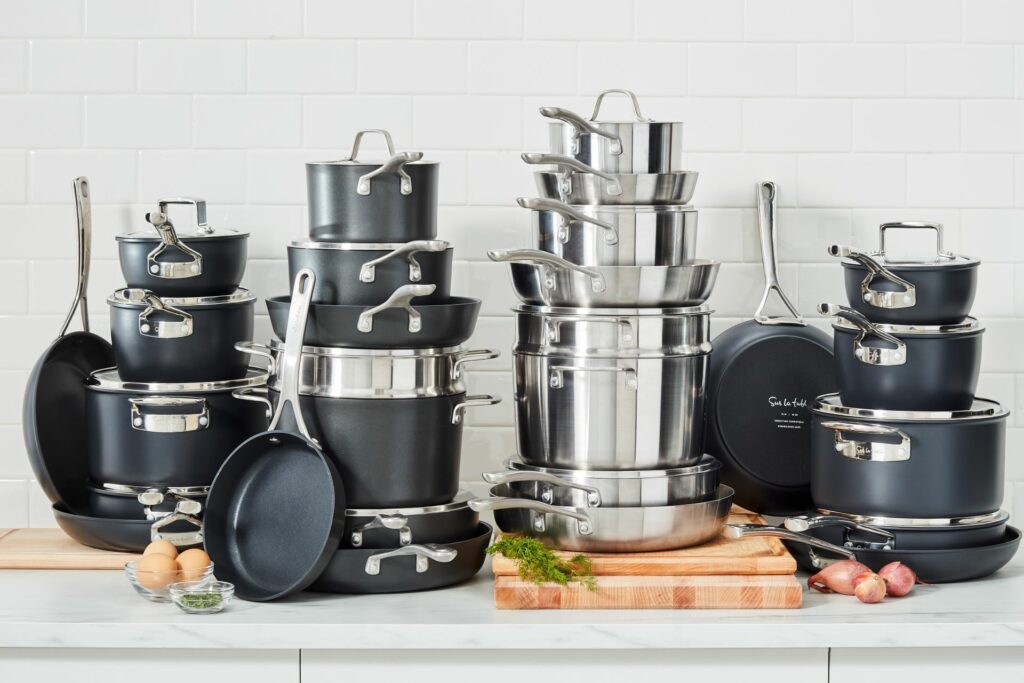
Decisions, decisions.


There’s nothing quite as satisfying as the feeling of accomplishment that comes with making your own bread.
It takes time, practice (read: patience) and a bit of tweaking to get it down. But making bread is wholly impressive, and once you get the hang of it, you’ll get to enjoy warm, crusty, fresh-from-the-oven loaves anytime you want!
One of our favorite ways to get perfectly baked, crunchy bread is to bake it in a Dutch oven—the heavy bottom and tight-fitting lid create a hot, steamy environment that’s ideal for creating a loaf that’s crispy on the outside and light and airy on the inside.
We’ll show you how to make our favorite Dutch oven bread recipe, and after a couple of adventures in proofing, you might just be able to make this in your sleep.
Hungry for more? Explore our baking classes for tips and tricks from our chefs!
A Dutch oven is essentially a big, heavy cookpot with a tight-fitting lid designed to let very little steam escape. They can be ceramic, aluminum or stainless steel, but they’re more commonly made of cast iron, which makes them heavier than your average pot.
Cast iron holds onto heat more readily and evenly than other metals, which is a huge advantage in baking bread.
There are a few reasons why an enameled cast iron Dutch oven is ideal for baking bread:
While the recipe below calls for all-purpose flour, you can also use bread flour. Bread flour has a higher gluten content which will result in a dryer dough that will have a bit more structure and chew. All-purpose flour, on the other hand, will be a little softer with a more delicate crumb.
For this recipe, your dough will go through 2 rises: the first rise will take between 2 and 4 hours, depending on the temperature of your home and the strength of the gluten. The second rise will take about 30–60 minutes after you shape the loaf.
If you are using a no-knead recipe, expect a longer fermentation time (about 12–18 hours) to allow the yeast to do its work.
If you only have instant yeast, you can use approximately 25% less instant yeast than the recipe calls for.
To substitute active dry yeast in place of instant yeast, you’ll want to use about 25% more active dry yeast than the recipe calls for.
This can be a tricky step in your bread-making process—too hot of water and you might kill your yeast; too cold and it won’t activate to rise your dough.
A good rule of thumb is to keep your water or wet ingredients between 100–110°F for active dry yeast and between 120–130°F for instant yeast. However, this might vary depending on the brand of yeast you have, so be sure to check the package directions.
We recommend a 4- to 6-quart Dutch oven to give your dough plenty of room to rise and your loaf plenty of room to grow as it bakes.
If you have access to a kitchen scale, we highly recommend weighing your ingredients. This is because weighing tends to be more accurate than volume (using measuring cups or spoons) due to things like inaccurate labeling, methods for scooping, etc.
In fact, tests conducted by the folks at Serious Eats found that, depending on how densely it’s packed, a cup of flour can weigh anywhere from 4 oz (113 grams) to 6 oz (170 grams), which is a difference of 50%. This can have a significant impact on the way your loaf rises, its gluten formation and the final bake
This is a relatively wet and loose dough, so you shouldn’t be too concerned if it looks wetter than other bread doughs.
However, if you find that it’s too wet or it isn’t coming together properly during the initial mixing steps, add flour in small increments until you start to see a smoother dough form.
To know if your dough is the right consistency, try what’s called the “Windowpane Test.”
Take a chunk of dough, about the size of a ping pong ball, and flatten it between your fingers. Then, gently pull on the opposite ends to stretch it out. As you pull the dough, you’ll notice the center starts to get thinner until it tears or you can see some light coming through.
This is called the “windowpane test” and is a great way to test if the gluten in your dough has developed.
Similar to the Windowpane Test, you can perform the “Poke Test” to check that your shaped dough is ready for the oven.
To do this, simply give your dough a gently but assertive poke. If it bounces back quickly, it likely needs a few more minutes. If it bounces back slowly and leaves a small indent, it’s ready to go.
This test basically tells you how far along the yeast is in the rising process. If the dough is springy, there’s still a lot of activity happening inside the dough. If it’s slower to react to your poke, the yeast is nearing the end of its job and the loaf is ready to bake.
The best way to know if your bread is fully baked is to take its internal temperature using an instant-read thermometer.
Insert the thermometer through the top of your loaf and into the middle. The bread is done when it registers 200°F. Your loaf should also be golden brown in color and will produce a hollow sound when you tap on the bottom.
Gather Your Ingredients

Mix the Dough
In the bowl of a stand mixer fitted with a dough hook, combine the flour, water, yeast and salt. Mix on medium speed until the dough is smooth and elastic, 5–10 minutes.
Depending on the size of the bowl, you may need to stop the mixer and remove the dough from the dough hook if the dough is not developing thoroughly.
When the dough looks smooth, cut off a piece and stretch it. If it stretches to the point of transparency, it’s mixed enough. If not, continue mixing.
First Rise
Remove the bowl from the mixer and cover it with a pot lid or plastic wrap. Allow the dough to rise until it has doubled in size and does not spring back when you push your finger into it, 2–4 hours.

Knead the Dough
Turn the dough out onto a work surface and knead it to release the gas and redistribute the yeast. Shape it roughly into a ball, cover it with a towel, and let stand for 10 minutes to allow the gluten to relax.

Shape the Dough
Shape the dough into a tight ball—the tighter the better—by rolling it on the work surface between your palms.
Second Rise
Spray or coat the bottom and sides of a large Dutch oven (5½ quarts or larger) or other heavy ovenproof pot with vegetable oil. Put the dough in the center of the pot and put on the lid. Allow the dough to rise again, 30–60 minutes (less if it’s very hot and humid, more if it’s cold).

Bake Bread
Preheat the oven to 450°F.
Rub 1 tablespoon olive oil, or more if you like, gently over the surface of the dough. Score the bread with a sharp knife or razor, making an X or a hash mark—this will allow the dough to expand freely. Sprinkle the dough with salt. Cover the pot and place it in the oven.
After 30 minutes, remove the lid, reduce the oven temperature to 375°F, and continue baking until the bread is nicely browned and cooked through. It should have an internal temperature of 200°F or so when done.
Let Bread Cool
Allow the bread to rest on a cooling rack for at least 30 minutes so that the interior finishes cooking.

Unless you plan to gobble up your freshly made loaf that same day (which we would totally do because warm, homemade bread is *chef’s kiss*), then you’ll want to make sure it’s stored in a way that keeps it fresh for as long as possible.
Here are a couple of tips:
There you have it, a step-by-step guide to baking crusty, crunchy, artisan loaves of bread at home! Once you’ve mastered this basic bread recipe, try experimenting with ingredients or additives, like herbs, cheeses, fruits or nuts. Or check out our recipe library for more bread recipes to try.
Happy baking!
Hungry for more? Explore our baking classes for tips and tricks from our chefs!


I’m making this today. Looks great so far, but I did have a question about the salt ingredient. The recipe doesn’t specify how much salt to add into the dough. I added 1 tsp. and am crossing my fingers that it works. Also. I’m adding just a little sprinkle at the end since there isn’t a specific amount listed for that either. Thanks for a great looking recipe. I hope it tastes great too! ????????