We love an organized moment.


As summer approaches, nothing beats the heat quite like a scoop of homemade ice cream. And with the right tools and a bit of creativity, you can enjoy endless flavors and combinations that cater to your personal preferences. Plus, it’s a fantastic way to involve family and friends in a fun, hands-on activity that ends with a delicious reward.
Whether you’re hosting a backyard barbecue, planning a picnic in the park or simply looking to enjoy a cool treat, homemade ice cream is a great addition to any summer celebration. Here’s how to get started and what you’ll need to make this summer sweet and memorable.
Hungry for more? Our Scoop Shop has everything you need to keep cool this summer, from ice cream starters and recipe books to ice cream makers, bowls and popsicle molds!
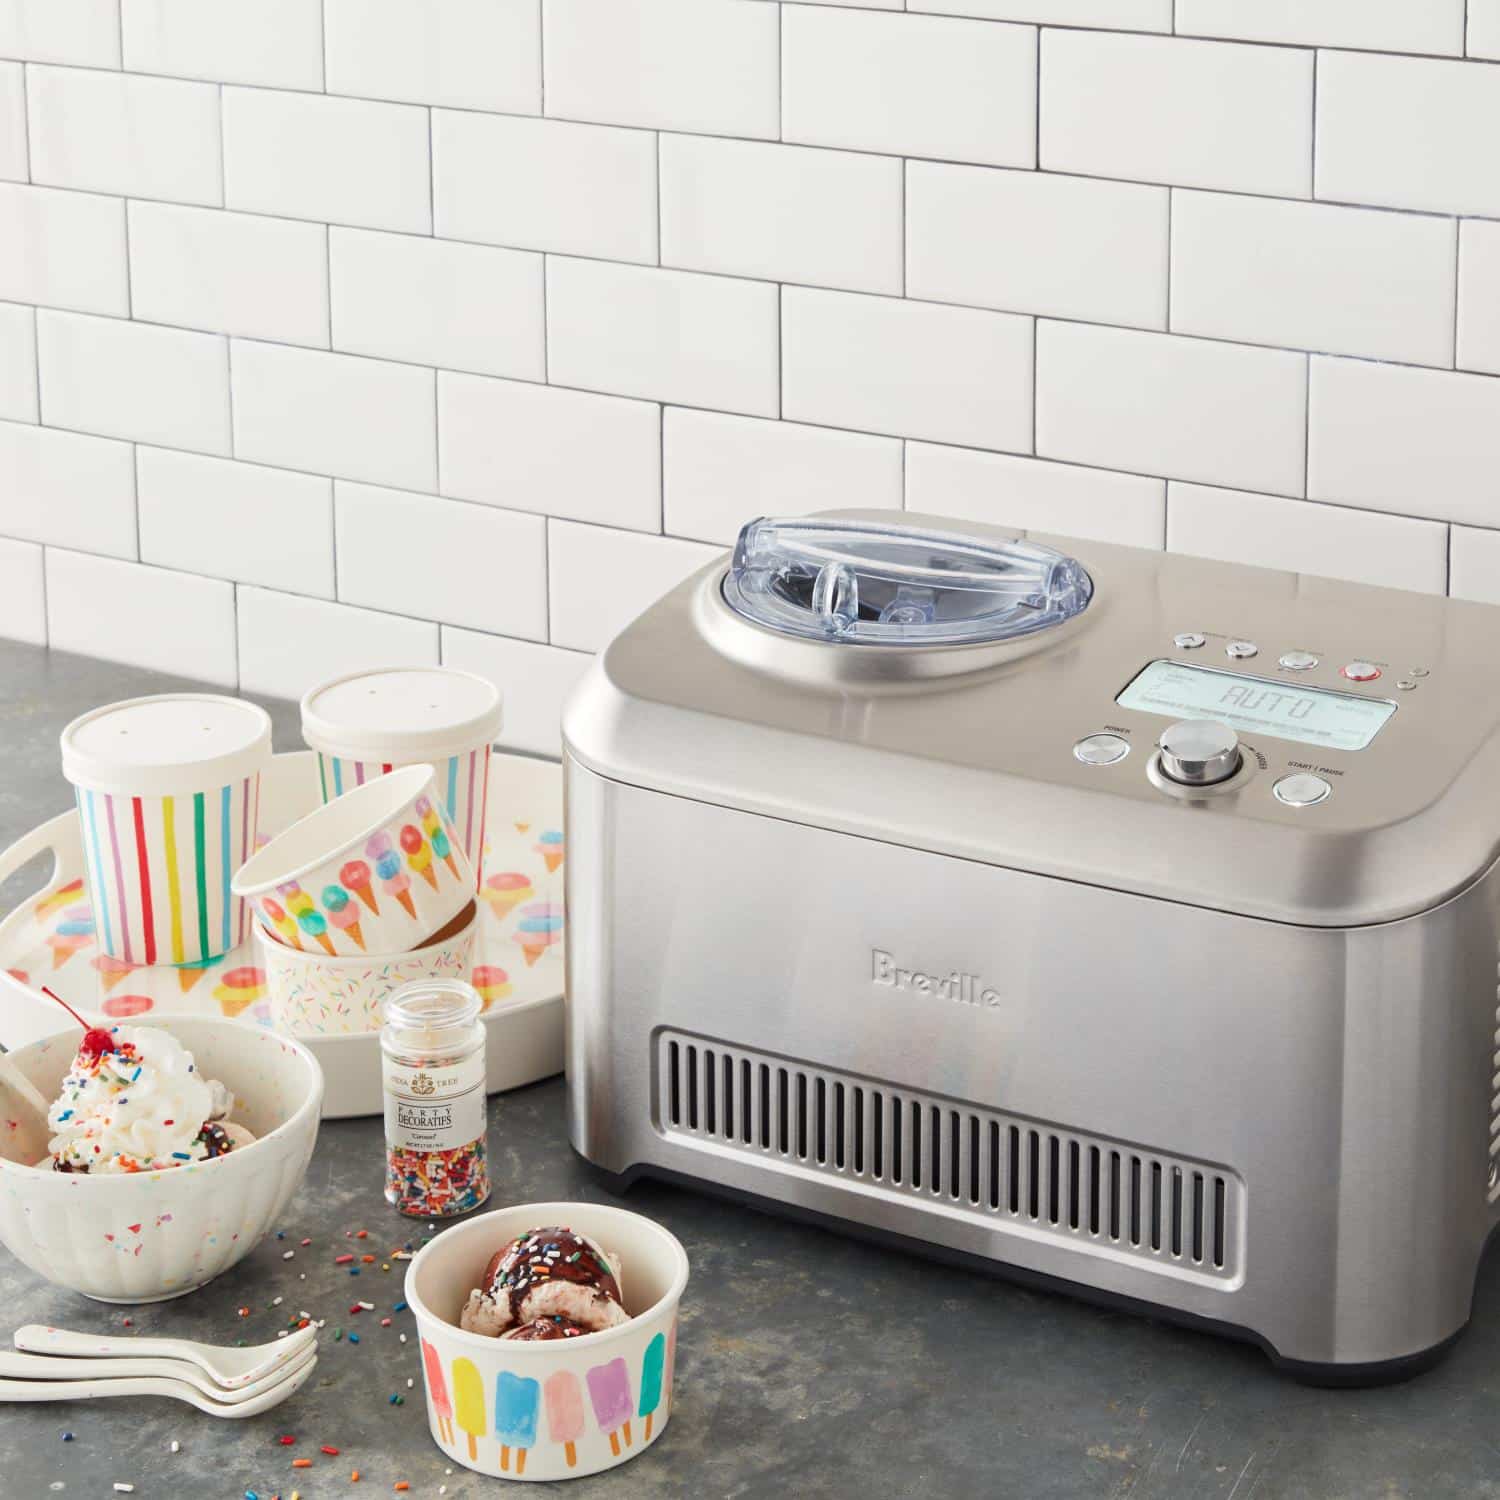
Homemade ice cream is all about blending creativity, a bit of kitchen science and quality ingredients to produce a treat that’s tailored to your taste buds.
Because when you make ice cream at home, you have control over every element—from the type of milk and cream you use to the mix-ins and toppings that add texture and flavor. This means you can cater to dietary preferences, experiment with unique flavor combinations and even avoid preservatives and artificial ingredients commonly found in store-bought varieties.
So, what are the basics of creating it at home? The foundation of homemade ice cream lies in creating a creamy base, which is then chilled and churned to achieve that luscious, scoopable texture we all love.
At its core, ice cream is made from a mixture of dairy products, sugar and flavorings.
The dairy provides the rich, creamy texture, while the sugar adds sweetness and helps prevent the formation of ice crystals, ensuring a smooth mouthfeel. The base can be customized with various flavorings, ranging from classic vanilla to more adventurous options like fresh fruit or spices.
Once the base is prepared, it’s essential to chill it thoroughly before churning. Chilling allows the mixture to thicken slightly, which improves the texture of the final product. This step is crucial for achieving a velvety smooth ice cream.
The next phase is churning, where the magic truly happens.
An ice cream maker, whether manual or electric, incorporates air into the mixture while it freezes. This process gives ice cream its light and airy texture. As the mixture churns, it gradually transforms from a liquid into a creamy semi-solid.
After churning, the ice cream is typically soft-serve consistency.
To achieve the firm texture we associate with scooped ice cream, it needs to be transferred to a container and frozen for several hours or overnight. This final freezing stage allows the flavors to meld and the ice cream to fully set, making it ready to enjoy.
One of the most exciting aspects of making your own ice cream is the ability to get creative.
You can experiment with different flavor combinations, add mix-ins like chocolate chips or fruit, and top it off with your favorite sauces and garnishes. The possibilities are endless, and each batch can be a unique creation tailored to your taste.

To make the process smooth and enjoyable, investing in the right equipment is key. Here are some must-haves:

Beyond the basic tools, there are plenty of accessories and add-ons that can elevate your ice cream making and serving experience. Here are a few of our favorites:

Creating the perfect batch of homemade ice cream can be an art form. With a few insider tips and tricks, you can elevate your ice cream-making game and ensure each batch is as delightful as the last. Here are some essential tips to help you achieve the perfect scoop, every time:
Hungry for more? Our Scoop Shop has everything you need to keep cool this summer, from ice cream starters and recipe books to ice cream makers, bowls and popsicle molds!
Join The Conversation