Your kitchen’s favorite workhorse.
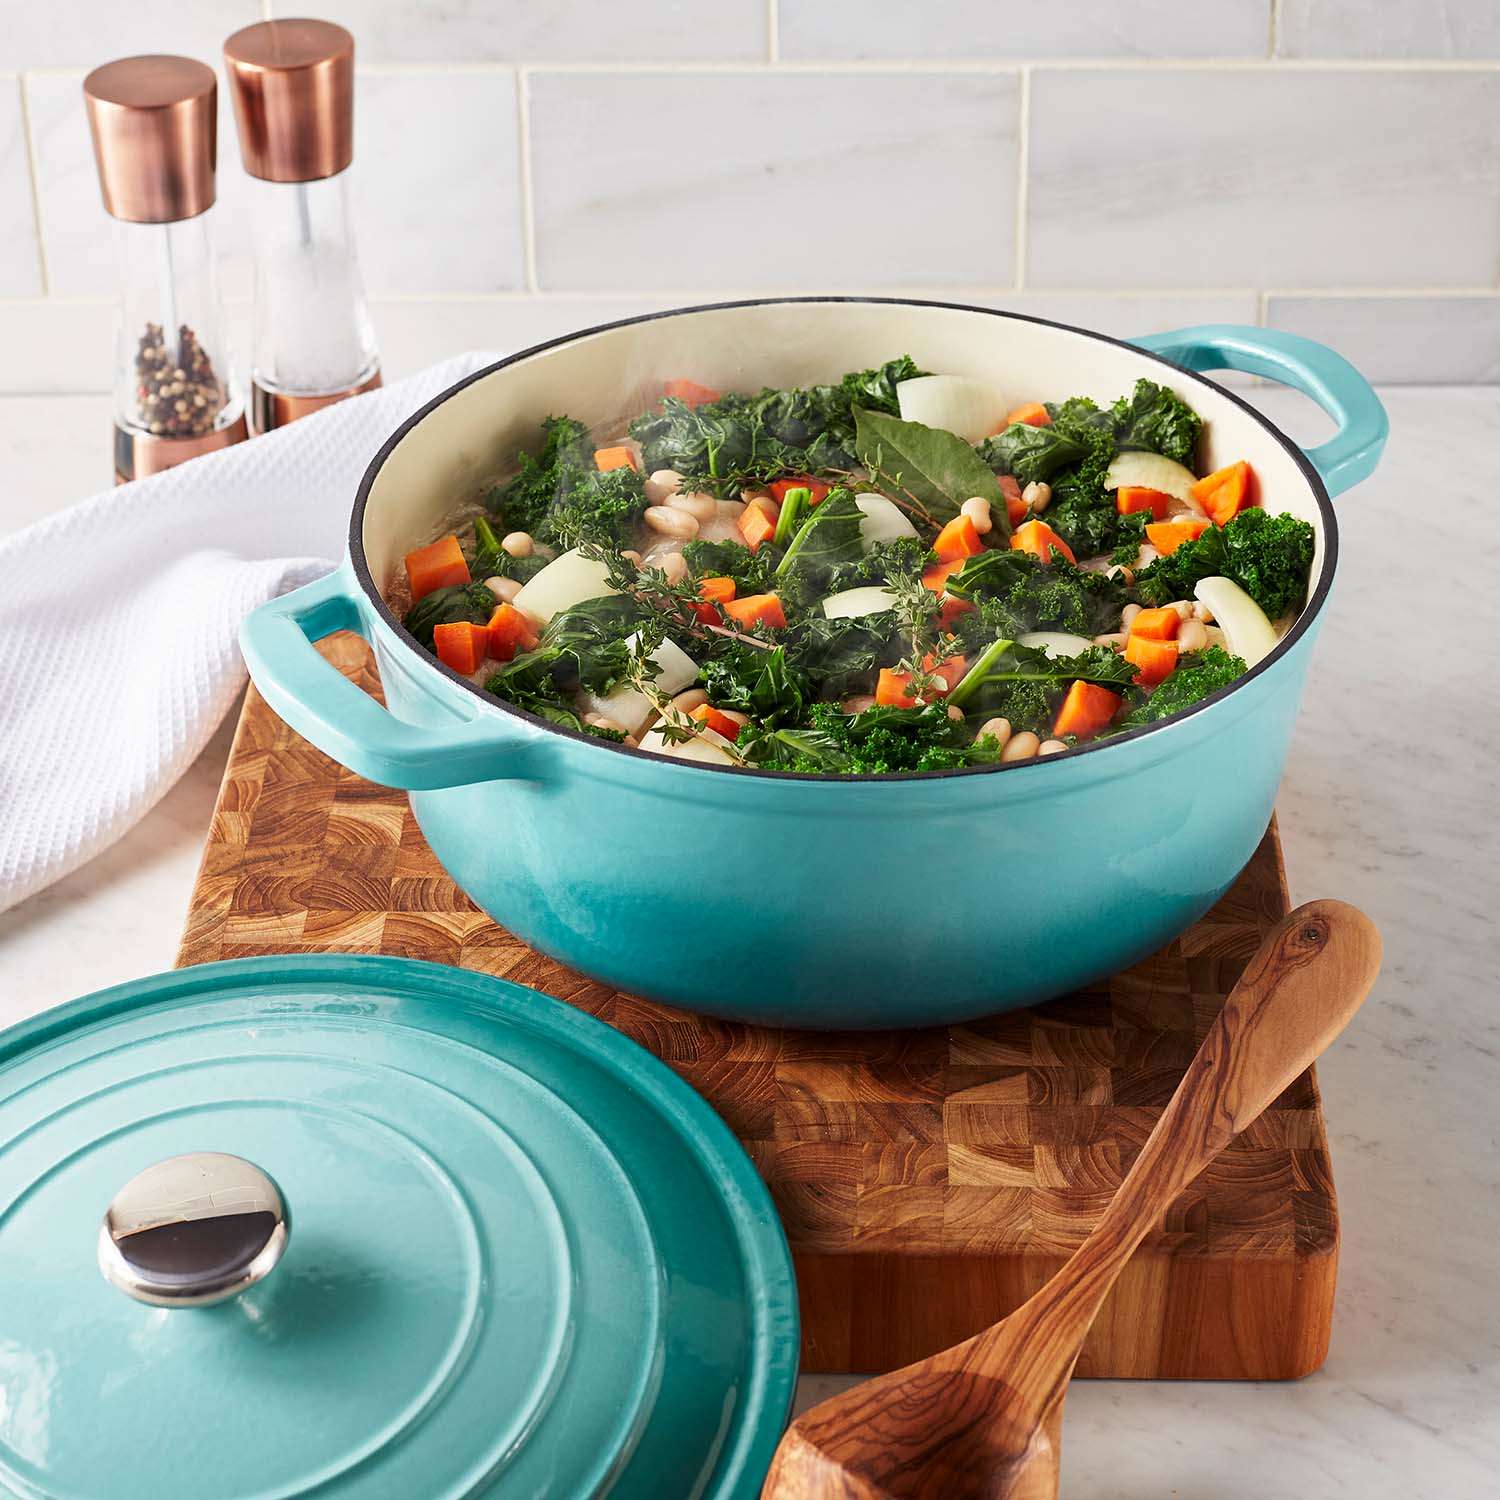


There’s a particular sound a great sear makes: that first sharp hiss when a steak hits a properly heated pan, followed by silence as the crust sets in.
To find out what separates that moment from a mediocre one, we sat down with Bernard Janssen, Zwilling Executive Chef, and asked him to break down what’s really happening in the pan when a sear goes right. His answer had less to do with heat than we expected.
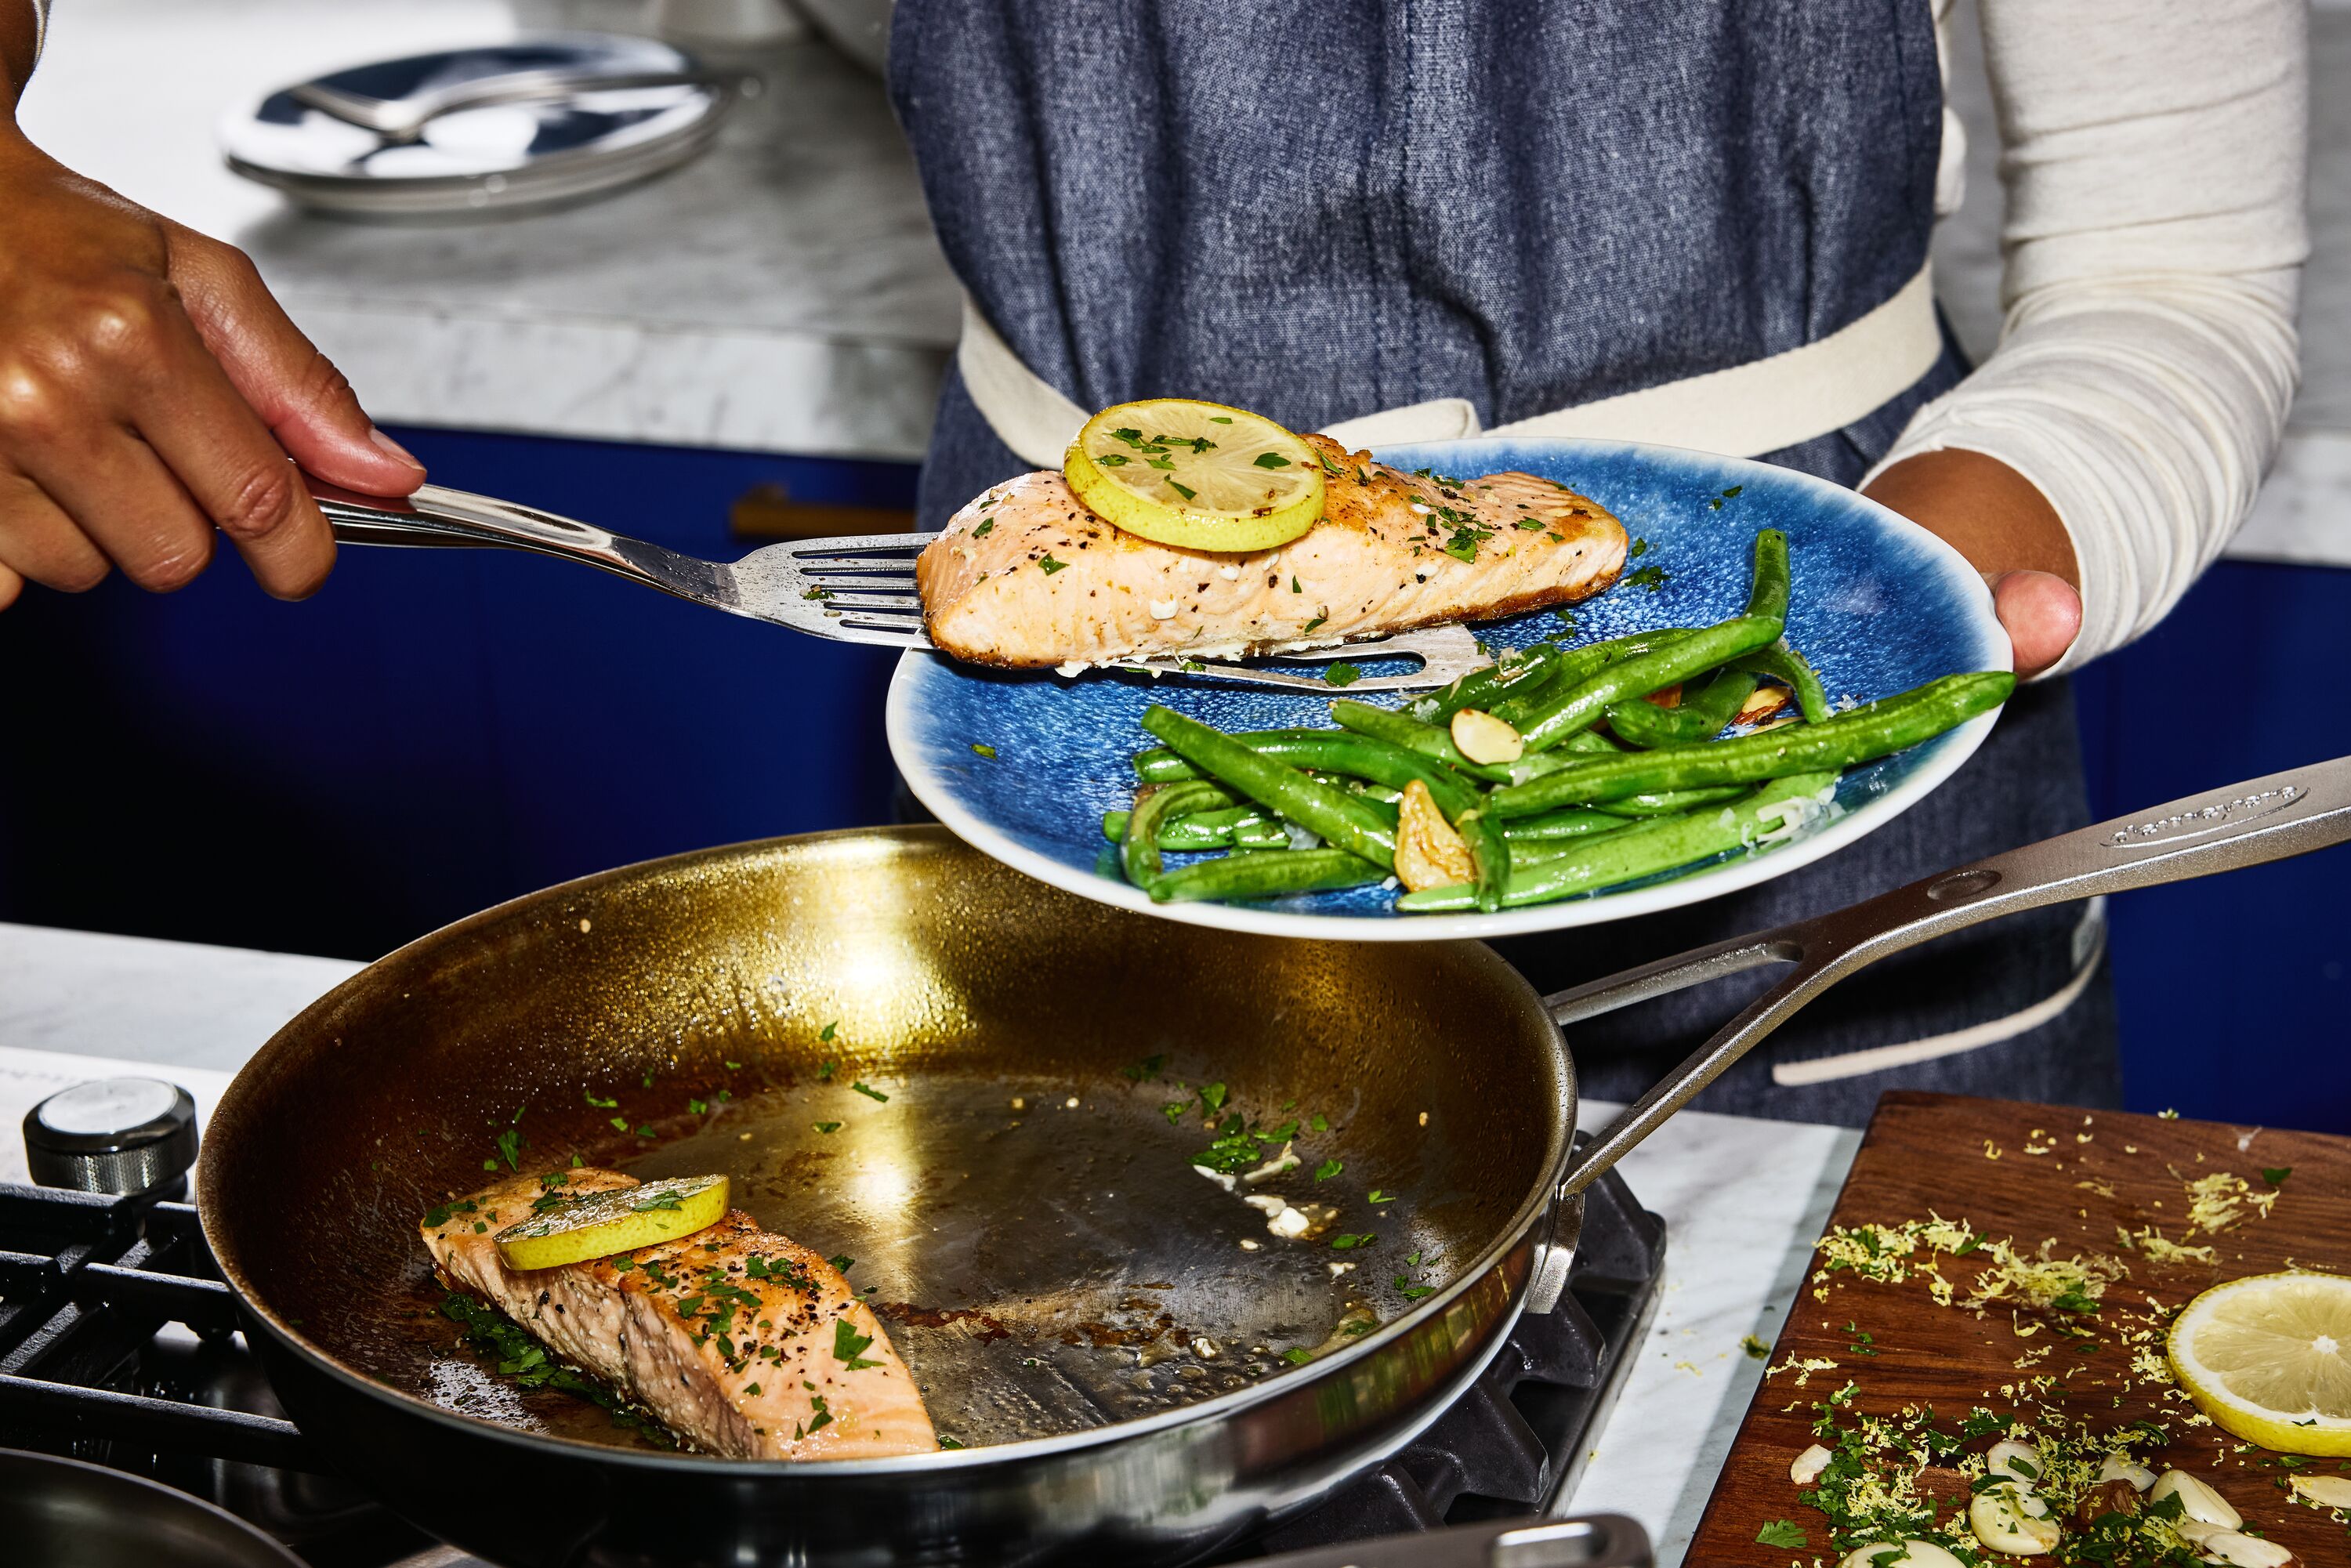
Picture a scallop hitting the pan too soon: it seizes, sticks, and tears when you try to flip it. Now picture the same scallop hitting a pan that’s ready. It sits down, sizzles immediately, and releases clean thirty seconds later with a deep golden crust. The difference is entirely in the preheat.
“Drop some water into the pan,” Janssen says. “When it no longer evaporates but forms a single pearl that glides around, the pan is well pre-heated, and the metal has expanded enough to create a virtually nonstick surface.” No water handy? Watch the fat instead: butter starts to brown and oil starts to shimmer at roughly the same threshold, whether you’re about to sear a pork chop or crisp up brown butter for pasta.
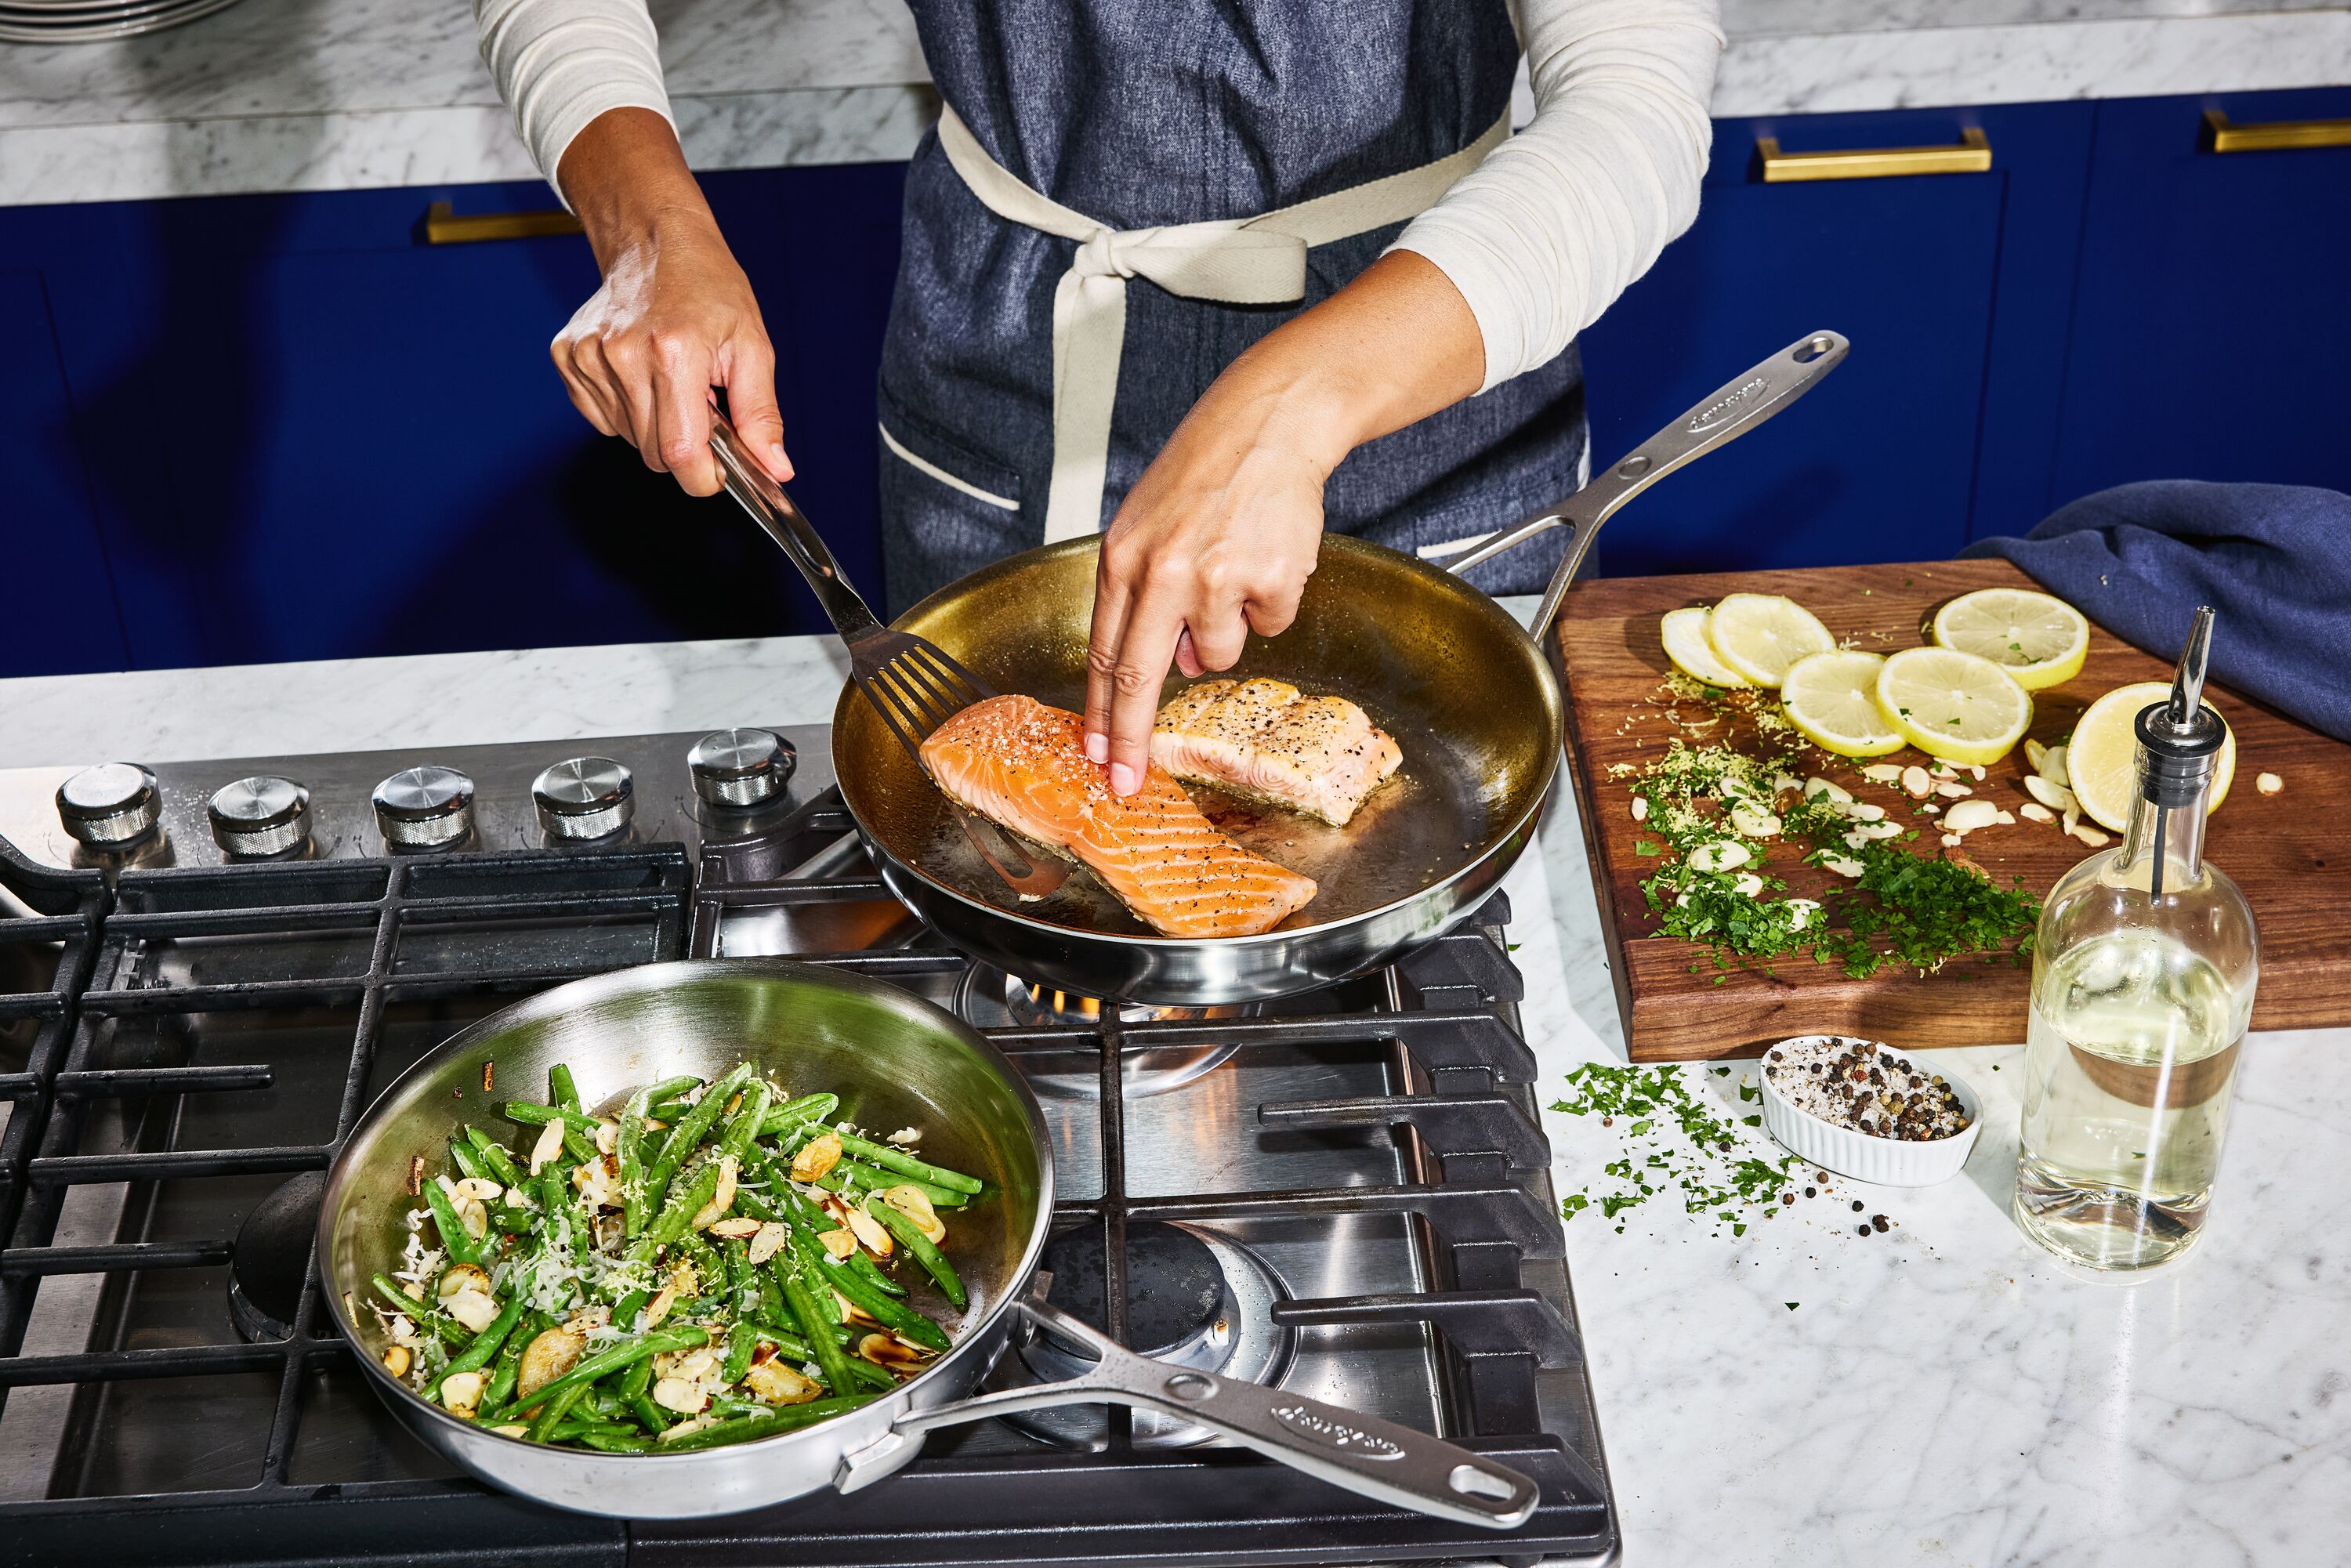
Think of a steakhouse-style ribeye with a deep mahogany crust, or salmon skin so crisp it shatters. Both come down to the same chemistry: the Maillard reaction, which needs sustained, undisturbed contact with hot metal to happen.
“If you start working the protein with a fork, spatula, or tongs too early, there won’t be any browning, and the protein might still stick a bit,” Janssen explains. Patience isn’t a nice-to-have here, it’s the mechanism. Leave that salmon alone for the first two minutes and the skin does the work for you.
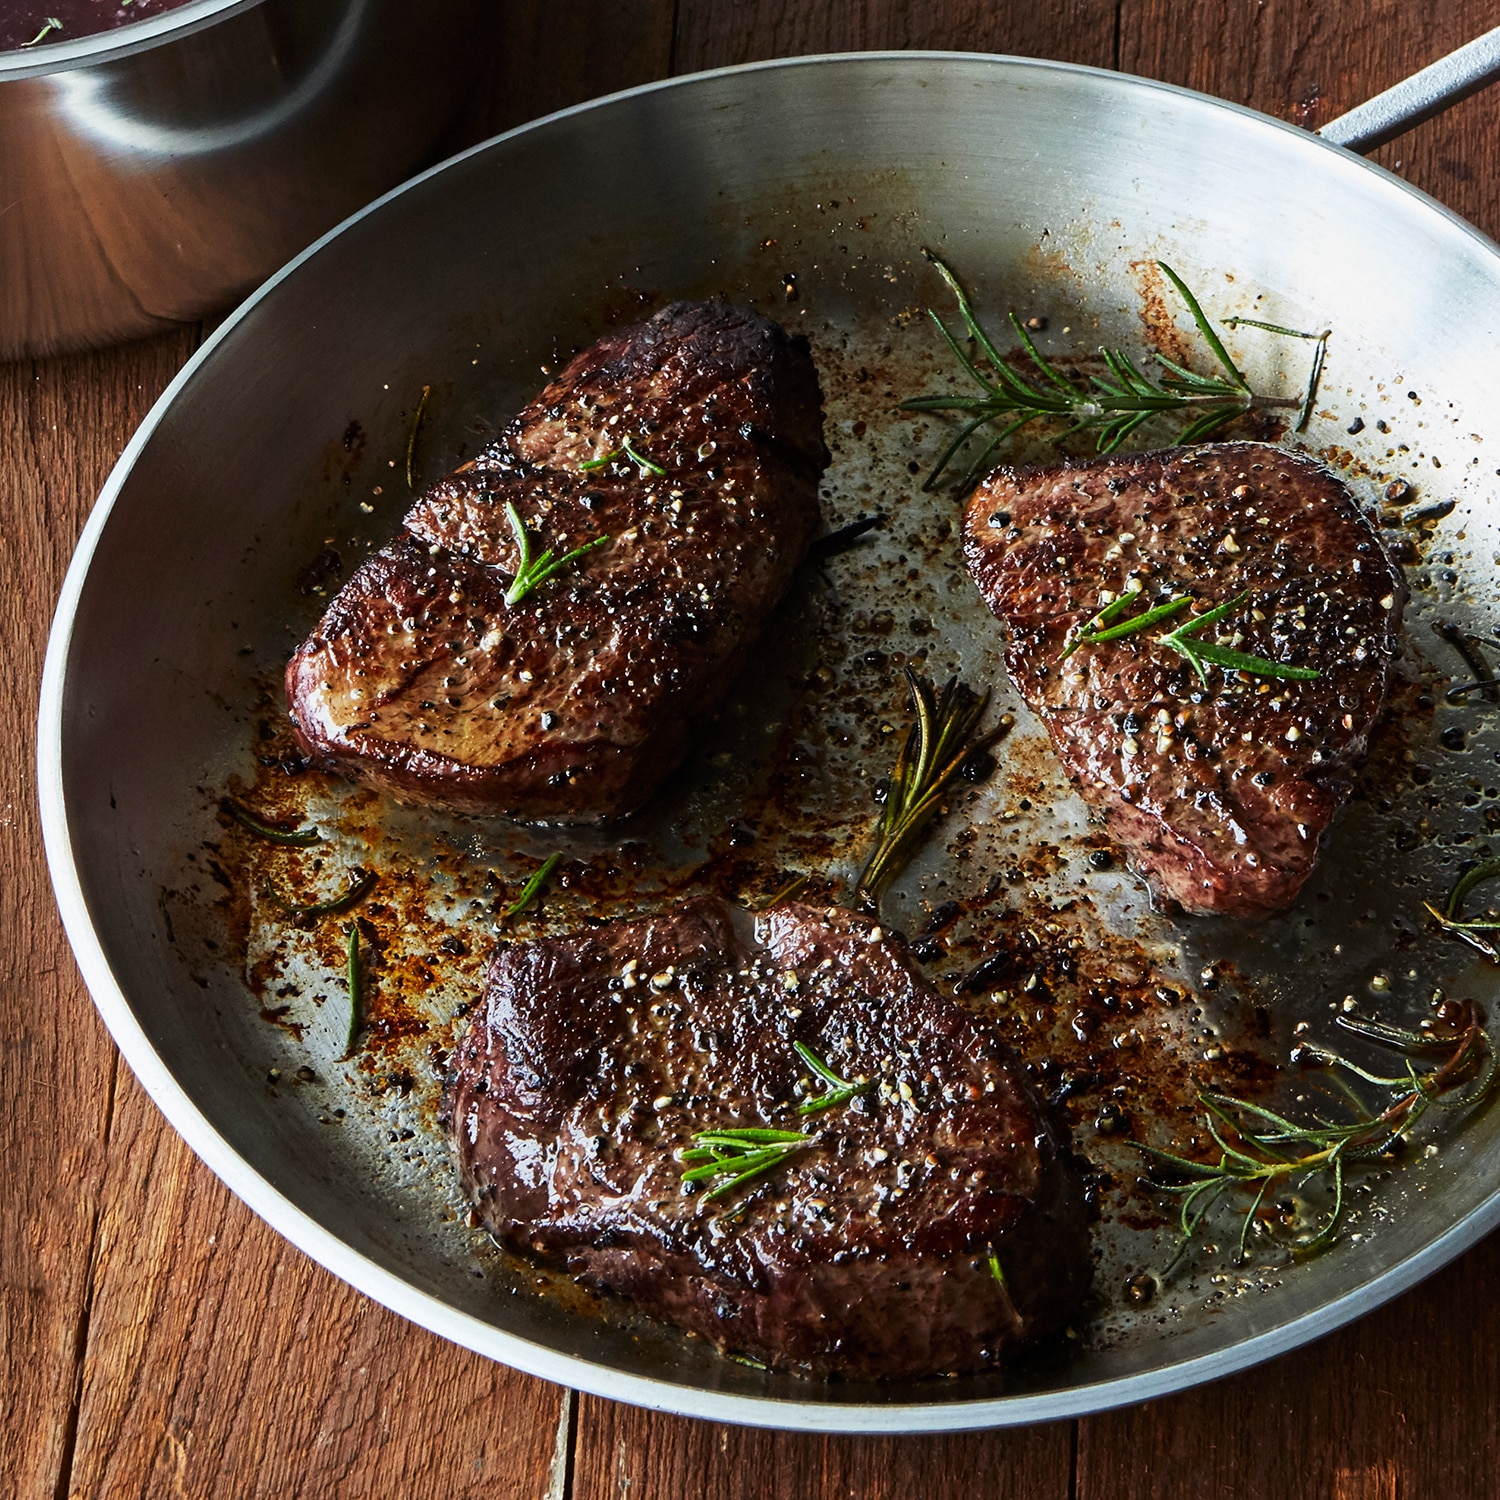
Every home cook has had this happen: three chicken thighs go into the pan at once, and the one nearest the handle browns evenly while the other two turn out pale and steamed. The inconsistency has to do with pan construction, not user error.
Janssen has seen this play out under real pressure, mid-service, when a pan’s limitations show up fastest. “You need weight and mass for heat retention, as well as multiple layers all the way through for heat distribution,” he says. “That gives you even heating, and therefore no cold or hot spots.” It’s why professional kitchens treat their cookware as an investment: the difference shows up exactly when you’re trying to sear four things at once for a dinner party, not just one.
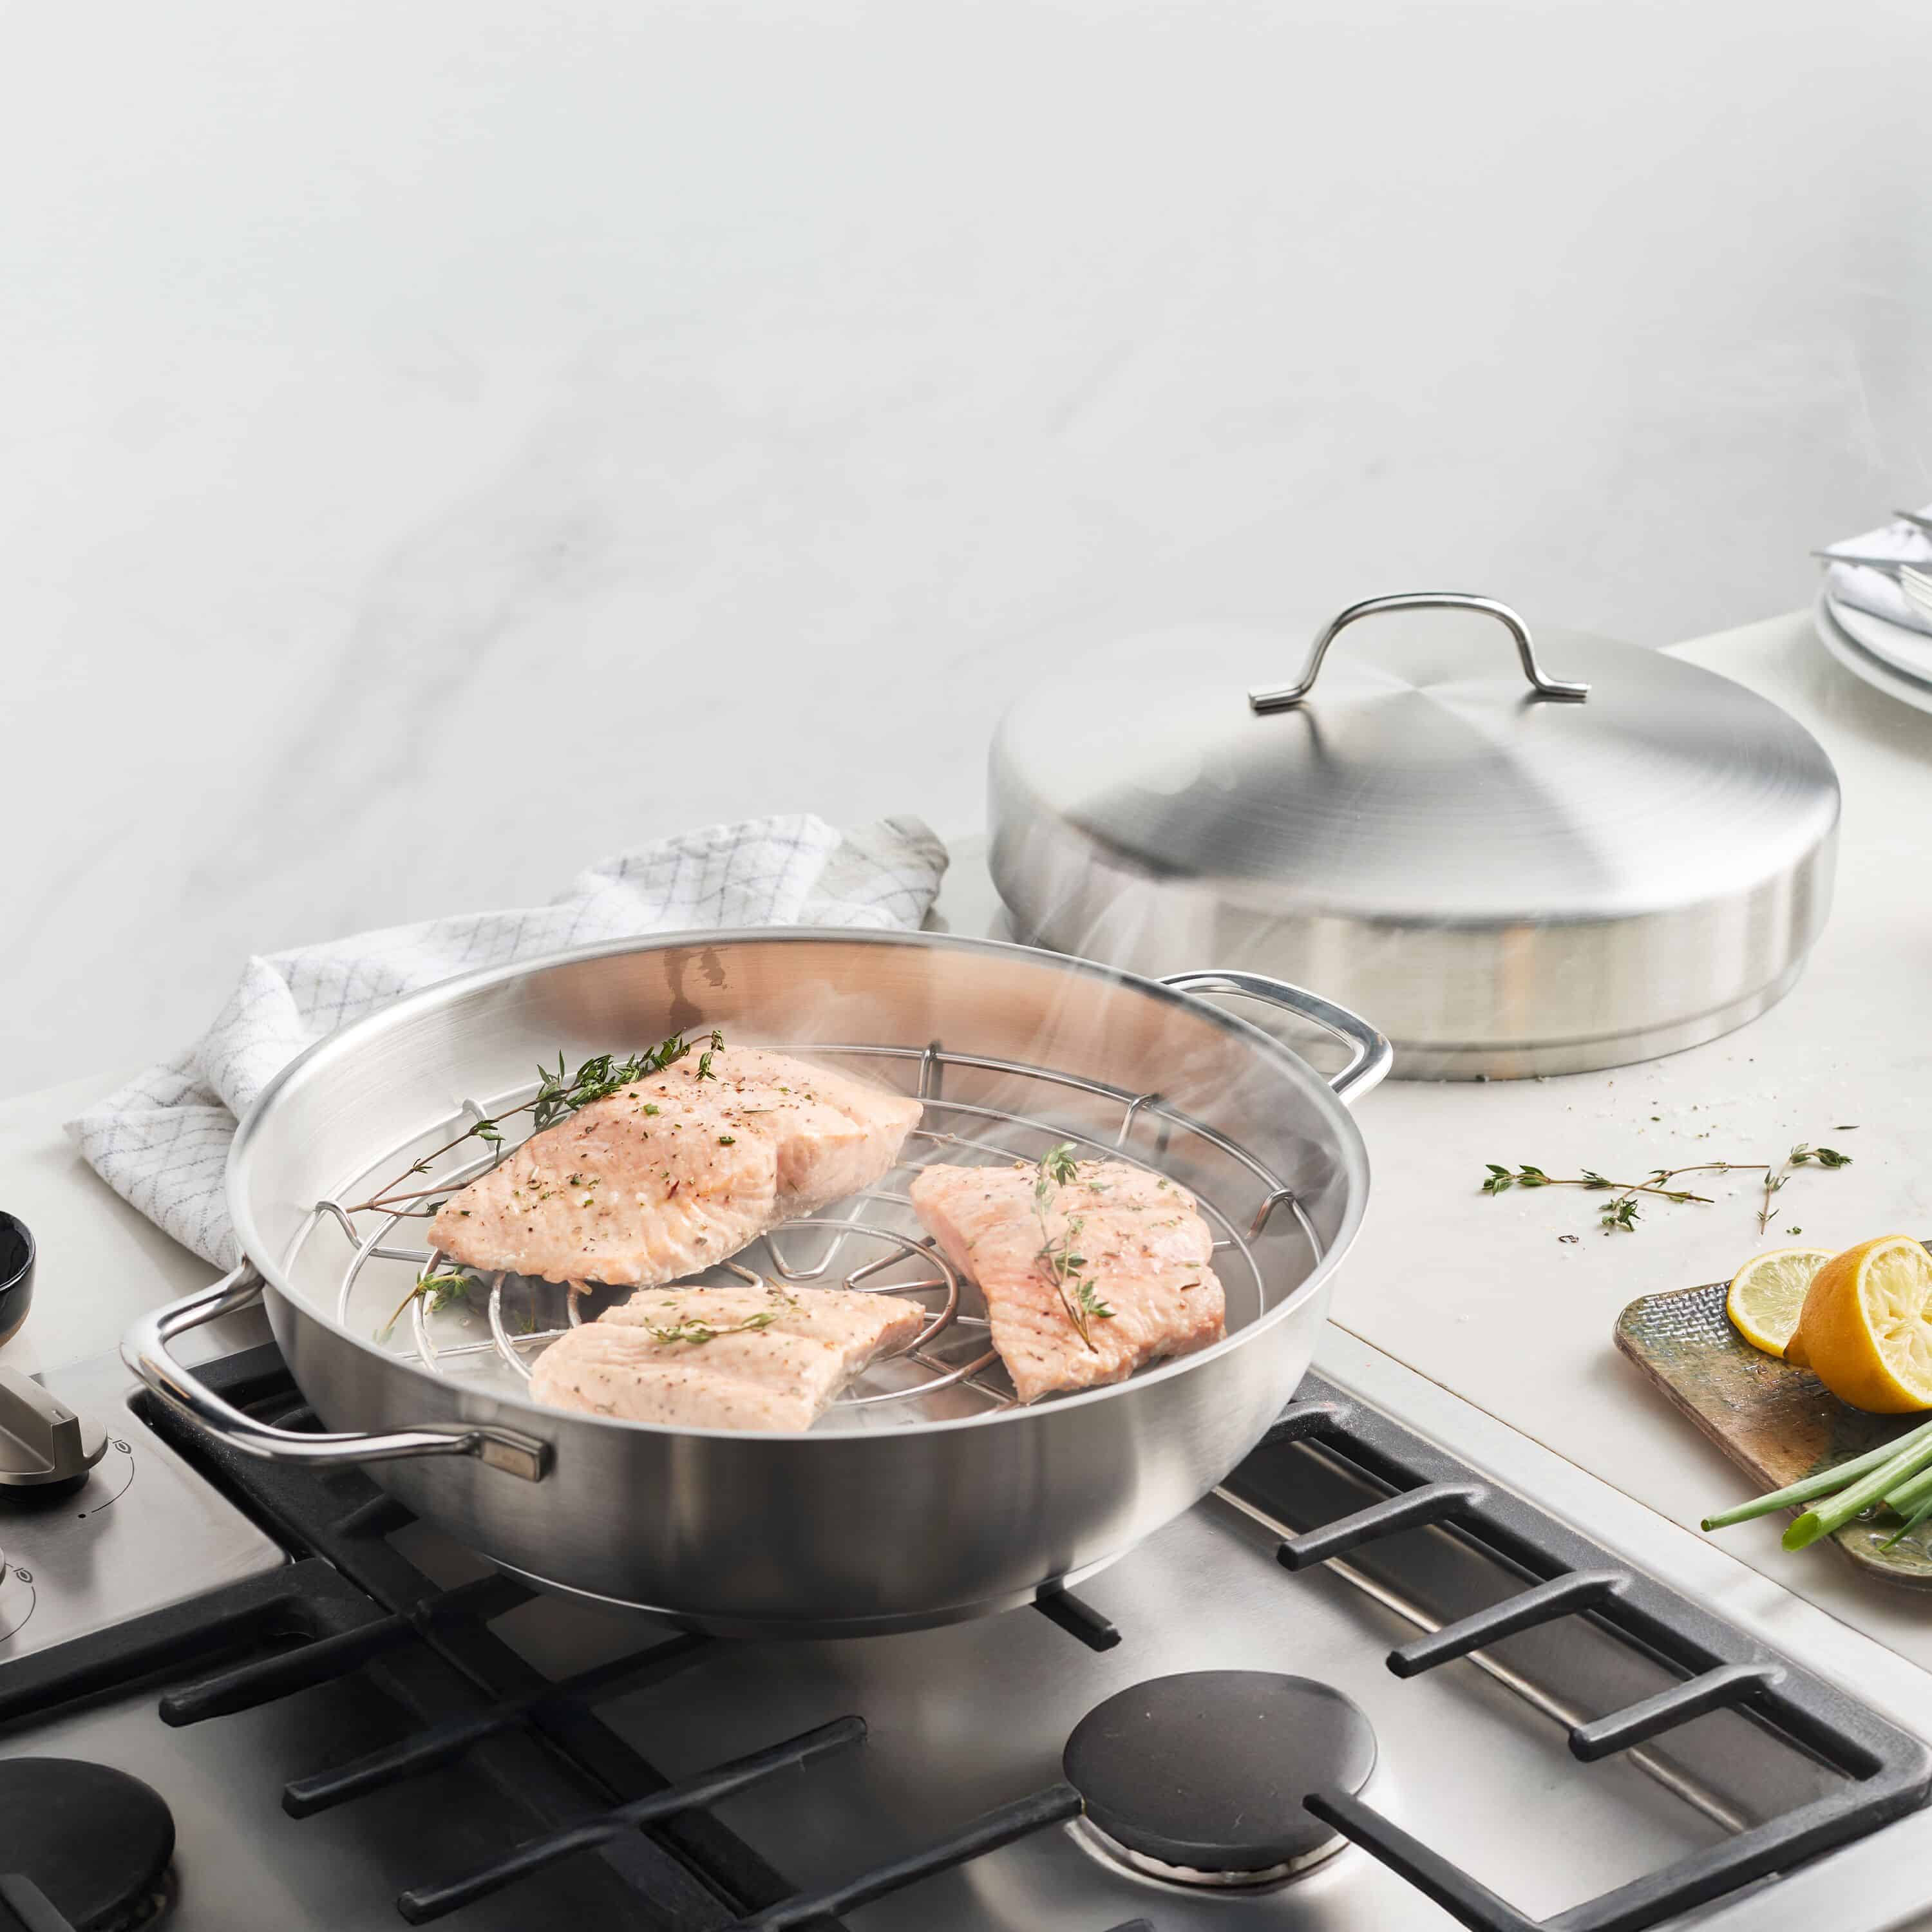
Ask Janssen for a single searing technique and he doesn’t hedge. “There is only one good technique,” he says. Here’s the sequence he walks through, whether he’s searing a steak, crisping duck breast, or getting a good crust on cauliflower steaks:
Try it once with something forgiving, like chicken thighs, before you trust it with a $60 dry-aged strip. Then tell us how it went. Drop a comment below with what you cooked and whether the pearl test changed your sear.
The Right Pan for This Technique
Shop Now




Join The Conversation