Decisions, decisions.


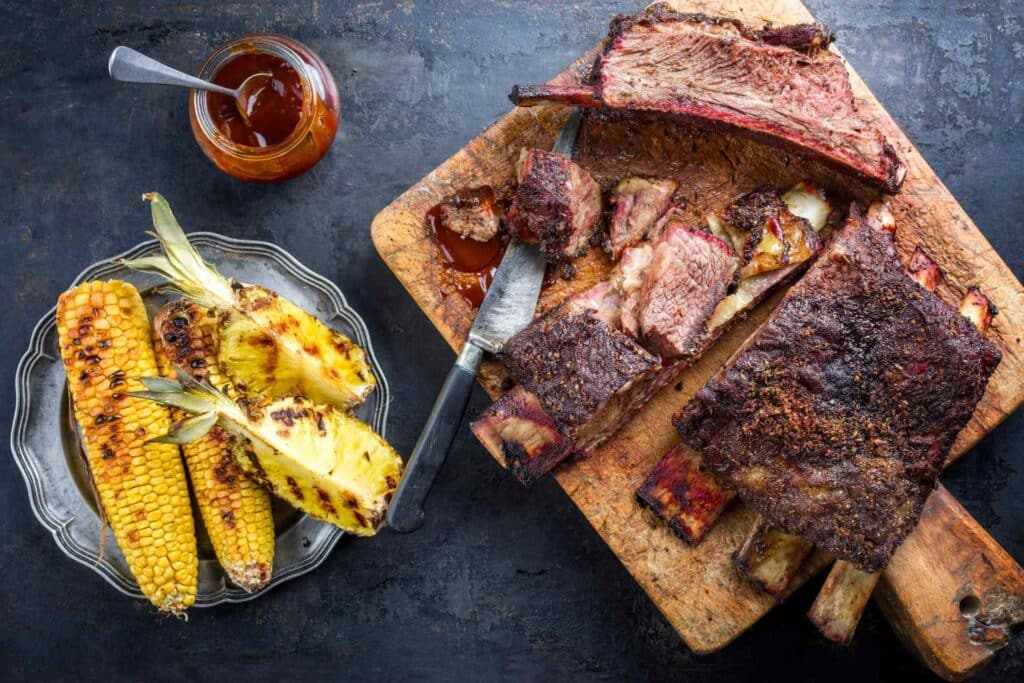
In every corner of the US, there’s a barbecue specialty that holds a special place in the heart of its residents.
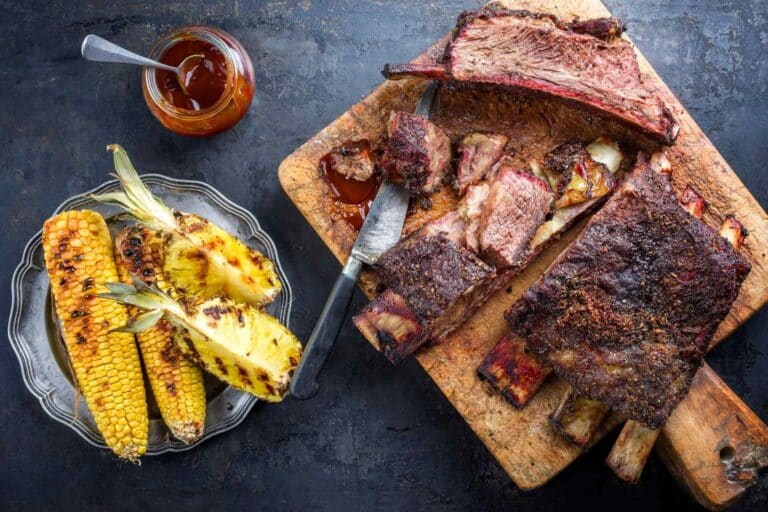
Whether it’s the sweet and smoky allure of Kansas City ribs, the peppery bark of Texas brisket or the tangy goodness of Carolina pulled pork, regional barbecue traditions are as varied as the landscapes they call home. But there’s one thing that unites them all—the universally loved, savory scent of smoked meat!
Smoking meat isn’t unique to the US—it’s a common culinary method that’s been used for centuries around the world. Historically, smoking was a method used to preserve meat, but today, it has evolved into a beloved cooking technique that imparts a delicious, smoky flavor to various cuts of protein. By striking the delicate balance between heat, smoke and time, ordinary ingredients transform into culinary masterpieces.
In this guide, discover the science behind smoking food, the intricacies of this age-old technique, and the steps to create mouthwatering smoked food at home.
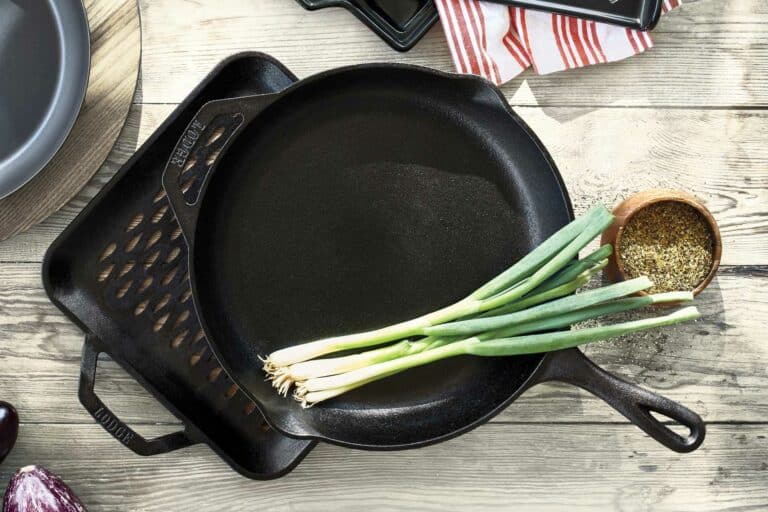
Hungry for more? Shop our Outdoor Cookware collection—from cast iron skillets and BBQ tools to smokers and pizza ovens, we’ve got everything you need for a delicious meal enjoyed in the great outdoors.
At its core, smoking food involves exposing it to smoke from burning wood or other sources, which imparts a unique smoke flavor and preserves the food. The science behind this magical transformation lies in the composition of smoke itself. Smoke is a complex mixture of tiny solid particles, liquid droplets and gasses, each playing a crucial role in flavor development.
Flavorful compounds: Wood smoke contains a plethora of organic compounds, including phenols, aldehydes and acids, which are responsible for the distinctive flavors and aromas associated with smoked foods. For example, phenols contribute to the smoky, earthy taste, while aldehydes provide sweet and fruity notes.
Chemical reactions: During the smoking process, several chemical reactions take place within the food. Maillard reactions, which involve the browning of proteins and sugars, create the appealing color and crust on the surface of smoked meats. Meanwhile, the breakdown of fats leads to the release of flavorful compounds.
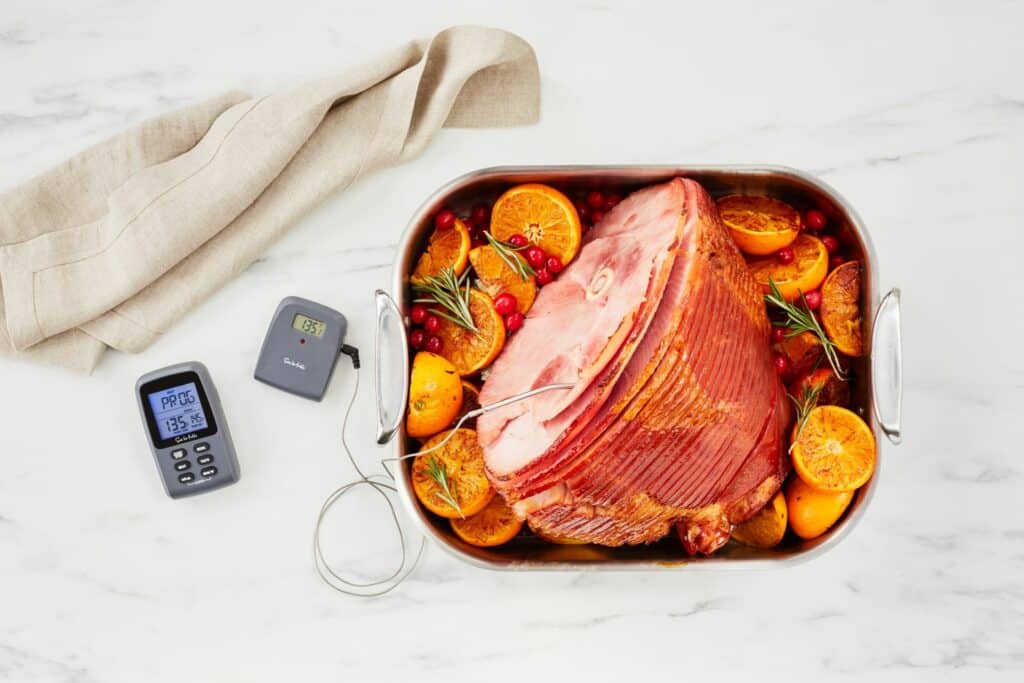
The temperature at which food is smoked is a critical factor in achieving the desired texture and flavor. The science of temperature control in smoking revolves around the proteins, collagen and connective tissues within the meat.
Smoking at low temperatures, typically between 225°F and 275°F, allows the collagen in meat to gradually break down into gelatin. This slow process transforms tough cuts into tender bites. Longer smoking times give the smoke more opportunity to penetrate the food and develop complex flavors.
The type of wood used for smoking plays a pivotal role in flavor development. Different woods release distinct compounds into the smoke, resulting in unique taste profiles.
When it comes to smoking meat at home, there are several types of smokers to choose from, each with unique characteristics and advantages. Here’s an overview of some popular options:
Charcoal smokers use charcoal as their primary heat source.
They come in various styles, such as vertical water smokers, horizontal offset smokers and kettle-style smokers. Charcoal smokers are known for imparting a classic smoky flavor to the meat. They require a bit more attention to maintain a consistent temperature but are favored by many barbecue enthusiasts for their authenticity and flavor.
Electric smokers are user-friendly and convenient, making them an excellent choice for beginners.
They rely on electricity to generate heat and often feature digital temperature controls, making it easy to maintain a precise cooking temperature. Electric smokers are known for their set-and-forget convenience, making them a great option for those looking for simplicity.
Propane smokers are powered by propane gas, providing consistent heat and control over the cooking process.
They are relatively easy to use and maintain, making them a popular choice among backyard cooks. Propane smokers are known for their ability to produce delicious smoked meats without the need for constant monitoring.
Pellet smokers use compressed wood pellets as both the fuel and flavor source.
They offer a unique set-it-and-forget-it approach, as they have automated temperature control systems. Pellet smokers are versatile and allow for precise temperature adjustments, making them suitable for various types of smoking, from low-and-slow barbecue to hot, fast grilling.
Indoor smokers are a specialized type of smoker designed for use inside your kitchen.
They are compact and use wood chips or pellets to generate smoke. Indoor smokers are a fantastic option for those who want to enjoy the flavors of smoked food year-round, regardless of weather conditions. They are especially useful for infusing a smoky touch to dishes like fish, poultry, cocktails and vegetables.
Smoking meat involves cooking it over a low, indirect heat source, usually with the addition of wood smoke. The slow cooking process not only imparts a delightful smoky flavor, but also tenderizes the meat, making it incredibly juicy and flavorful.
Here’s a step-by-step guide to get you started:
Unlocking the art of smoking meat is a journey that combines science, patience and a deep appreciation for flavors. And whether you’re a novice or an experienced pitmaster, these tips will help you achieve the best results when smoking meat at home:
Hungry for more? Shop our Outdoor Cookware collection—from cast iron skillets and BBQ tools to smokers and pizza ovens, we’ve got everything you need for a delicious meal enjoyed in the great outdoors.


JOIN THE CONVERSATION